Showing posts with label kid crafts. Show all posts

Monday, August 17, 2015

Dip-Dye Fourth of July

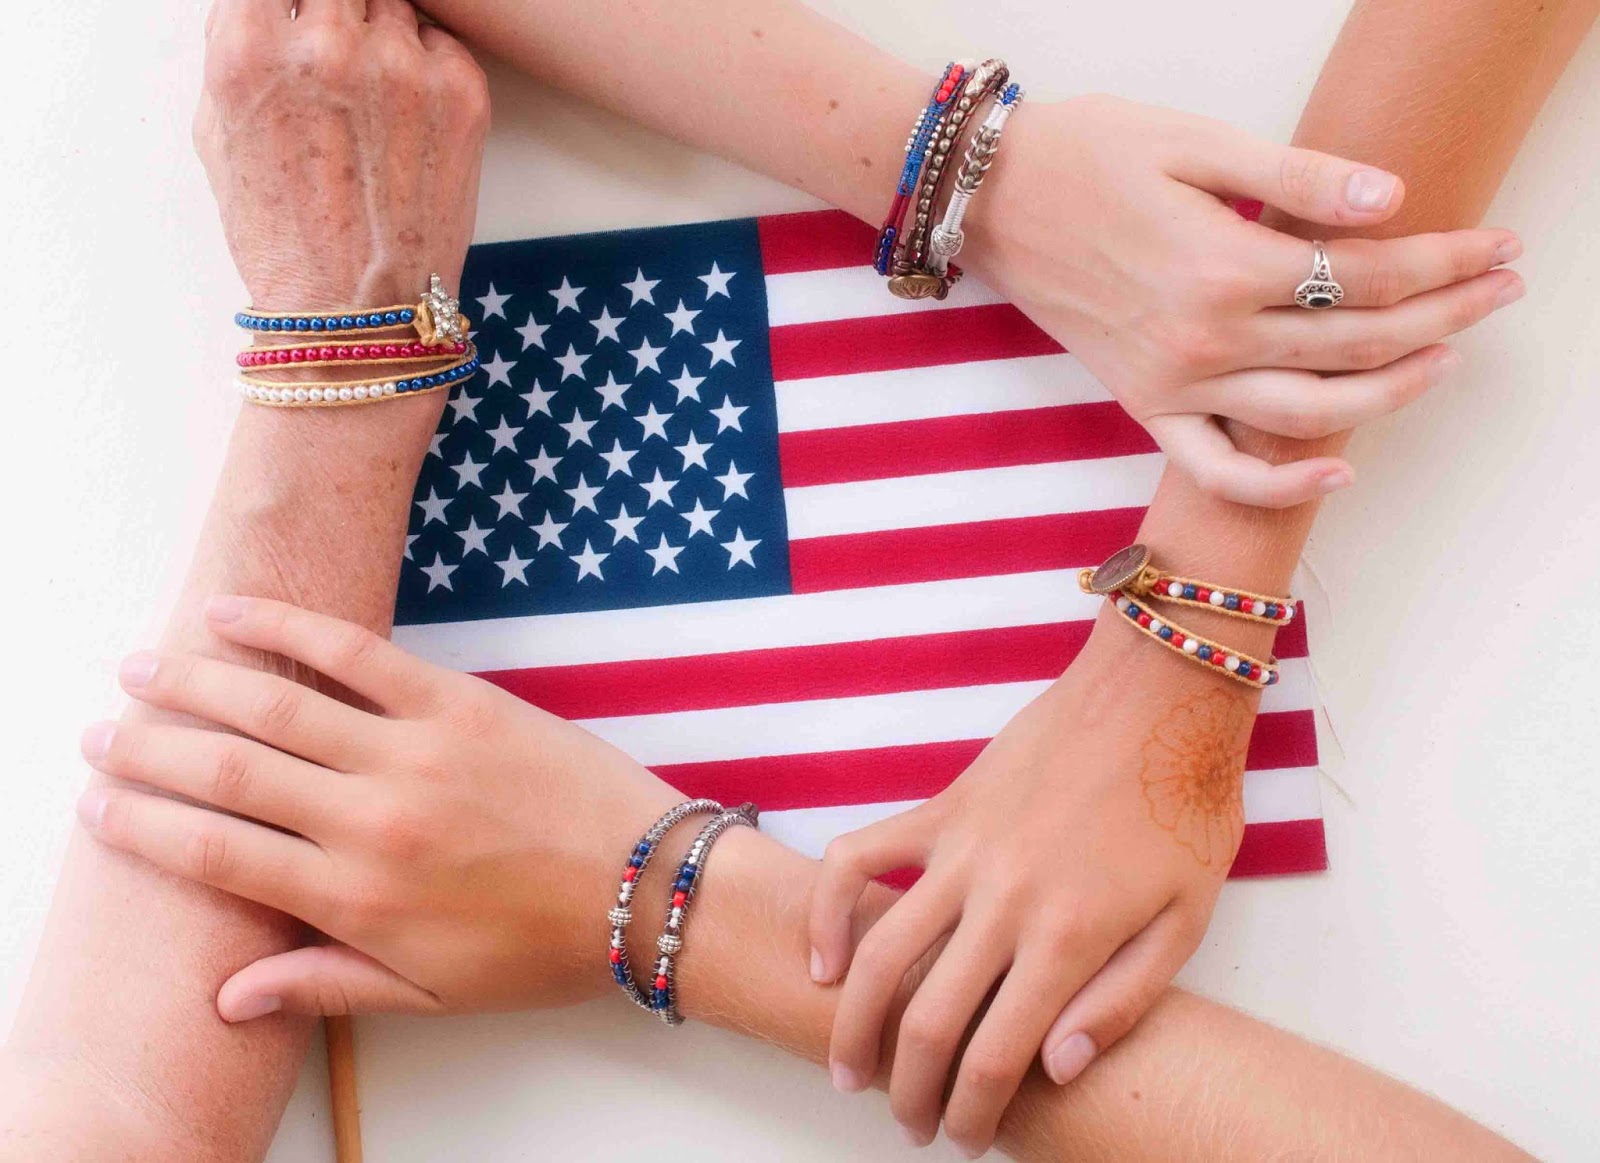
Fourth of a July is a big holiday for our family as it's the one time a year that we are all on vacation at the same time. 

As the kids get older, their jobs and schedules are making this harder and harder to achieve and the time we're having all together is shrinking to a weekend or even just one day. 

Every year we choose some type of wearable art project to celebrate...

 
And this year we tried dip-dying.

I chose it because it was relatively simple and we all weren't going to be there until the actual day of Fourth of July.

The kids brought both denim and white items that they already owned or that they found at thrift stores.

The first step was bleaching out the denim...


This step took much longer than we expected so there was lots of hurry up and wait.  

I started with a three parts water to two parts bleach mix but that was taking a long time.  Lets just say that watching denim get bleached out is akin to watching paint dry...


That's when Jim suggested industrial strength bleach.  What?  There's different bleach strengths?  He ran to the hardware store and we mixed the stronger bleach;  two parts water and one part bleach.  

That sped things up a bit but it still took us a couple of hours to bleach out our items.


After bleaching, we had to wash and dry everything before dip dying.  In hindsight, we should have bleached days in advance to save time.  Experience is the greatest teacher.

When we finally got to the dip-dying...that went incredibly quickly and the results were immediate...


Bleach pens came in handy for fixing the stray drip...


Or for use as a design element...


Ideally, we should have let each color dry before dipping in the next but it was already becoming late afternoon...


So we rinsed out the dye while the items were still wet which affected the vibrancy...


But not the fun factor...


We also found that pre-worn and old denim bleached out the best.  Really dark, new denim never quite bleached out to white...more of a gray.

And the colors were more muted...which might be desirable for a more understated look...


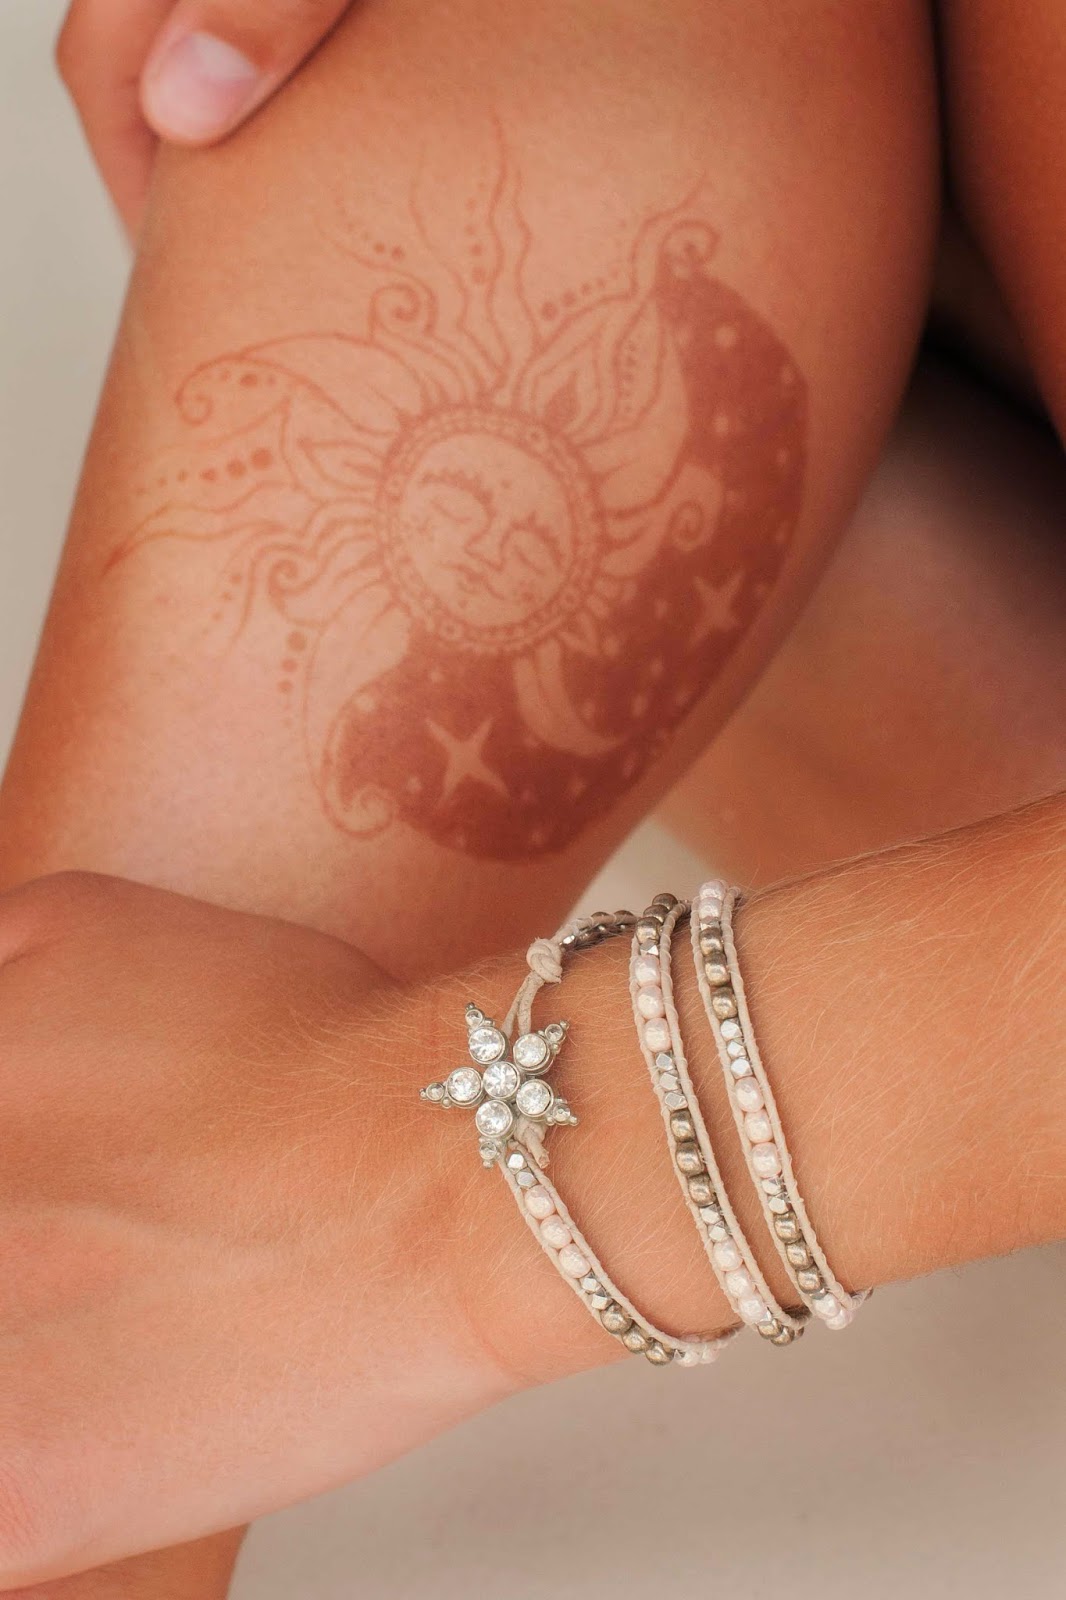
Not all of us chose to dip-dye.  Ellie used her bleached denim shirt as a canvas for a painted design...
 

And we have a new furry family member, Moose, who was there to help tame the zoo...


Moose is calm in comparison.
By the time we were finished, there was very little time to wash/dry our items and get dressed for the night so we scattered without a group picture.


I remembered to snap one picture after dinner and before the fireworks...


I think we all agree that we'd like to re-try the dip dye activity...especially if we spread it out over a series of days, doing one dye step at a time and letting each step dry thoroughly in the sun before rinsing.

Time was our issue this year.  A harbinger of years to come, I think.

That means we'll have to come up with another way.

Maybe I'll have to mail pre-work or prep kits to everyone next year...hmmm....

~~~~~~~~~~~~~~~~~~~~~~~~~~~~~~~~~~~~~~~~~~~~~~~~~~

You can see our past patriotic projects here:

2010:  T-Shirts
2009:  T-Shorts
2008:  Baseball Hats

Friday, September 26, 2014

The Making of a Masterpiece: Lessons from the Littlest

Last Christmas, my family drew names for gift giving so that each one of us had one person to "buy" for...we were limited to $40.

I drew my littlest niece.

Having purchased one of those fancy acrylic paint sets (with a coupon),  I had the main item of my gift.  Next, I bought a huge empty canvas (with another coupon) and "wrapped" it.  I printed out a goofy picture of my niece and dressed her in tie-dye shorts, Converse and an art smock with a painter's palette and a brush to hold. 


I also took an old stained white shirt of Jim's and made her a smock to wear like the one I put on her picture...


On the back was the invitation to come to my house...


To make a Masterpiece.  

We had our first date yesterday.

Since Masterpieces don't come easily, we warmed up by painting a few pictures on the paper that came in her kit. 


After an hour or so, we had a feel for the brushes and the paints and that's when the inspiration HIT!

A Unicorn!!!  A BIG One! It's magical and it's sparkly and it could have a rainbow tail, and it could be beautiful!  Oh!  And you have glitter?  OH!  We could add glitter!!!(clap clap, clap, jump, jump, jump)  There's was no stopping once the vision had taken hold.

She shopped for just the right unicorn on the web, printed out an outline of one onto a transparency, and then we borrowed an overhead projector from my neighbor across the street.


After tracing her design, she went right to work...


When it came time to paint on the gesso medium and apply the glitter...Katie, bar the door!


There can never be enough.  And if it gets all over you?  All the better. 

And if you can shower in it...well...


That's existential.

Utter peace settles over you as your transformation is certain...


And then...Euphoria hits.  You have the vision, coated in glitter, sparkling for all the world to see...


Bring it on!  

I have so much to learn from this kid. Which only became more evident when I sat down to write this post.  

Lessons from the Littlest

1.  Never pass up a chance to take a glitter shower.  Never.


2.  Abandon yourself completely to your art, even if it means you start looking like it.


3. Love what you do.  Love it so much that you look like it.


4.  Dare to be...


Different...


And others will follow.


5.   It's a Masterpiece.  It's You.  Sign it.


6.  Become expert at "TA-DA"!!


7.  Share your joy.


8.  Be Grateful.


I found this hidden underneath one of our paintings when I was cleaning up.  Icing on the cake of an already delicious day.

I should be the one saying thank you.

Thank you.

Wednesday, July 23, 2014

Wrappiness --- Round Two

The nieces and I have been wrapping again.

When we gathered for the Fourth of July, we were down five nieces...so I caught up with four of them the next weekend to make patriotic wrap bracelets, round two.


They had the benefit of seeing the ones made by the first group...and they took to the technique like fish to water.

Poring over the choices for buttons and beads...


Measuring their wrists and deciding on the total number of wraps...


Learning to ladder beads between two pieces of leather cording...


And getting a little help when needed...


It's always fun to see how one basic technique can lead to such wonderfully unique results...


Katie charted and beaded this "USA" inspired section...


And a couple of the girls wrapped a few rhinestone cup chain sections in their bracelets...


The results were star-studded spectacular.  


And though we're a little late for Fourth of July, we're just in time for the Star Spangled Spectacular to be held in Baltimore in September, commemorating the 200th birthday of our national anthem.  

Now that the girls all know the technique, they've begun to branch out on their own and make lots of other versions...like this stunning example designed by Ellie...


I just love it and so does she.

I highly recommend this project for a crafty gathering; it takes about a full day.

And it's more fun if everyone can just relax and get wrapped up in the flow of the making.


[Note:  If you're interested in making wrap bracelets too, I highly recommend the projects, videos and supplies provided at Beadshop.com , click on subheading Cool Projects.]

Jim, Jack and I just got home from Jack's college orientation at Northeastern University in Boston, more on that next post. 

Miss you all but will have more time in another month or so when I'll be back online more regularly.  Until then, I'll bop in when I get a minute.  

Happy, wrappy day.

Thursday, July 10, 2014

Wrapping up the Fourth of July

If any of you are still out there following this blog, you'll know that my family goes to the beach every year to celebrate Fourth of July.  For us, it's almost bigger than Christmas.

This year was a bit different in that six of us weren't there...and a tropical storm came through which re-configured the normal parade of Fourth fanfare and fireworks.


If you've been following this blog for a while you'll also know that we usually make some form of patriotic, over-the-top red, white and blue creation to wear.  Thanks to the tropical storm we had a day's worth of rain and bad weather gifting us plenty of time to sit and create...


[Assisted by that wonderful-husband-of-mine Jim who fed us throughout the day...see him all flagged-up in the kitchen?]

This year we made wrap bracelets...


Having gone through my bead and button stash to gather a supply of patriotic-ish baubles...


Most of the bracelets had a flair for the Fourth...


But not all.   In the true spirit of the Fourth and freedom of expression...


Not everyone wanted a patriotic bracelet.  Rather, there were a couple created that could be worn all year round...


And see that beautiful henna tattoo?  

My niece Allison has quite a talent for drawing and has set up shop as our resident henna tattoo artist...


Everyone was lining up to get a chance to wear her artistry...


Even Jack.


Luckily for Allie, her sister Grace also has talent and drew this lovely intra-scapular art doodle...


While the gals were busy beading and tattooing, the men were not to be outdone.

My BIL Jim is a master griller and made pit beef sandwiches hand-delivered to the beach as well as yummy fall-off-the-bone ribs for dinner...


With gourmet accompaniments fresh from the farmers' market provided by my sister Sheila, we are spoiled rotten at the beach and eat like royalty.

Noticing that BIL Jim was struggling to put his heavy ceramic "Green Egg" grill away over uneven ground, my brother Mark got busy pouring concrete and made him a surface slab for easy storage and removal...


All in all, we had another gathering where the the group was greater due to the sum of its parts...


If you're interested in making wrap bracelets too, I highly recommend the projects, videos and supplies provided at Beadshop.com , click on subheading Cool Projects.

I used their "Wicked Mood" bracelet as a prototype for my patriotic version...


And instead of using the beading boxes they use in the videos, we used empty cardboard bolt boards that JoAnn fabric stores gave to me for free.


Summer is always a busy time as I spend more time out of doors and traveling.  Though I'm still creating, I am not posting as much as I might like.  My posts are sporadic at best and I expect a much more regular blogging schedule when Jack goes to college in September.

Until then, I will still be here, posting when I can.  Here's wishing you beauty and joy where ever you are, whatever the season.

~~~~~~~~~~~~~~~~~~~~~~~~~~~~

You can see our past patriotic projects here:

2010:  T-Shirts
2009:  T-Shorts
2008:  Baseball Hats

I just realized I'm on my eighth blogging year.  Wow.  When I go back and look through past posts, it makes me love this blog all the more.  Thanks for joining my journey. 

Related Posts with Thumbnails