Showing posts with label crazy quilt journal project. Show all posts

Tuesday, October 6, 2015

Winter Wonderbird

Over the years, Jim and I have grown quite fond of the quirks and personalities of the birds that share our backyard and sup at our seed-y smorgasbord.   I'm particularly fond of the Eastern bluebird and Jim's favorite is the Black-Capped Chickadee.


I think he sees a bit of himself in its capable, efficient manner.  Targeted in its feeding style, the chickadee avoids the food squabbles of the finches, sparrows and jays.   Waiting patiently for a break in the fray, it flies in, gets a seed, and flies away again to eat in peace before any protest is mounted.  Though the titmice are similar; the chickadee is the only bird to let us know when the feeders are empty by calling just outside our window...chick a dee dee dee, chick a dee dee dee.

They're also the only birds that escort me across the yard while I'm carrying the newly-filled feeders, taking seeds as I lift them up and before I can even get them hung.  We've seen pictures of people training chickadees to eat out of their hands and Jim has often said he wants to try that once he retires.

I mention all this as backstory so that you understand why I said "yes" without any hesitation when Pam Kellogg asked if I would be willing to make the January artwork for her annual Crazy Quilt calendar.  This year's theme was birds and would I be willing to do a Chickadee?

Jim's favorite bird and my favorite month...slam dunk...I was in.


Another reason Jim loves the chickadee is because it's with us all year round.  A fierce little bird and a scrappy forager in the worst of winter weather.

Inspired by their brazen, insistent requests, I decided to place my chickadee on the crepe myrtle branch outside of the window, winter bare but for the seed pods that are left closed until Spring...


This is the branch from where our chickadee friend, seeing us seated inside the warmth of our home, calls to us to come out and fill the feeder.


I splattered the block with Lumiere textile paint in pearlescent white, wanting the bird to be in the middle of a snowstorm. 

I envisioned snow to be everywhere so I spent some time studying photographs of snow crystals and reading up on the properties of snow in this book...


I can't recommend it enough!  Find it at the library or bookstore and spend some time looking through its pages...it's a beauty to behold.

The snowflake structures lend themselves beautifully to embroidered interpretation...


And I discovered that all snowflakes have either six- or twelve-sided symmetry...never four or eight as I've sometimes seen them depicted.

Each stitched snowflake is unique...


And I was able to use the painted watch parts and beaded snowflakes I had made a few years ago.  Evidently, their time had come...


The crepe myrtle seed pods were "stitched" by making knots of Au Ver a Soie silk chenille thread, sinking the ends, and sculpting them with needle and thread...


I found that the thread was too thick to stitch with a french knot without serious worming.

The snow on the branch was made in the same manner as my January Reflections piece.


As for the chickadee itself, I wanted to give the appearance of the feathers being fluffed out, trying to retain body heat so I stitched in a few fluffy feathers to give the suggestion of cold.


And the little blue beanie?

The inspiration for that came from none other than my son Jack himself.  He wears one pretty much every day...


And I was in the process of making a new hat for him when I dropped him off at school...


To keep him warm through those cold Boston winters.

So I knitted one for him and one for the bird...


I had to steek the bird's beanie so I could cut it in half and sculpt it with thread onto the piece.

Steeking is a method of cutting a piece that has been knit in the round.  I had never steeked anything before so I learned a new technique.

Thanks Pam for including me in your calendar.  You can see the other birdy pieces in the calendar and purchase your own here.


I know I haven't been blogging very much lately but it isn't for lack of desire.  I still love my blog like an old friend and plan to be here more regularly, life willing.

Waving to you all!

Tuesday, February 10, 2015

Embroidering 3-D Rose Leaves

For the past few months I've been working on creating a palette of leaves for a climbing rose bower on my Mrs. Rose block.


First, I figured out a method for making velvet leaves.  I like those very much but I wanted to try my hand at embroidering a few as well.

This week I worked on a couple of approaches for embroidering three-dimensional leaves.  My first attempt was...just that...a first attempt.

In the second attempt, I sandwiched organza with the fabri-solvy...couching the wires to the underneath of the fabric sandwich and embroidering the leaves on the top side.


Once I finished the embroidery, I cut them each out and placed them in water to dissolve the stabilizer.


Over all, they turned out pretty well.  The more I did, the better I became.  A few minor adjustments and I think I have a good approach for going into production.

I had to order more Gloriana Tudor Silk since I only had it in one color, Olivine, and I'd like to have a palette of leaves to choose from when I'm making the final bower.  Luckily, Needle in a Haystack had a range of greens so those should be arriving in the next day or so.

Check out the difference between one strand of 12-strand Tudor Silk on the left and one strand of Gloriana 12-strand silk floss on the right...


The 120/2 twist of the Tudor Silk has a tighter twist than the silk floss, more of a sheen (IMHO), and doesn't "fuzz out" as much as the softer twist.  That's important because I am distressing the thread a bit by putting it into water.

I am loving how they are turning out.  The only down side is that they take about one hour per leaf stem to make, a bit longer than the plain velvet leaves.

I still need to figure out the calyx and the thorns but I am definitely getting closer...


Below you can see the scale of the leaves compared to a penny...


That's it for now.  I'll be working on Japanese embroidery for the next few days where I have tons and tons of goldwork to do.

Happy day!

Friday, September 19, 2014

Miniature Millinery

Scale is a marvelous teacher.  And roses don't grow overnight.

Back when I left off with Mrs. Rose, I had figured out a method for making miniature roses.


Before those roses can become rose boughs, I need to figure out how to craft the leaves.

My vision was to have three different types of leaves:  a stumpwork version (yet to be made), a beaded version (yet to be made) and a miniature velvet-ish/fabric-y version รก la a millinery leaf spray like the ones below.


As you can see those haven't yet been made either but at least I'm further along than I was yesterday.


The smallest pre-manufactured millinery leaf I own is about 7/8".  My leaves need to be about 3/8" to 1/2" or 11mm-15mm.  I'm playing with all types of variables: wiring the leaves using super micro wire, managing the fraying of the fabric that I'm using, sewing on such tiny pieces, and holding the dag-blasted $@#!%! things in my fat fingers.

There was a lot of struggle today but I have at least discovered two ways I won't be making the leaves.

That being said, I can begin to see that I will figure it out and it's going to be lovely.  It's just not going to be quick.


Back to the drawl-ing board.

Happy weekend everyone!

Monday, March 31, 2014

A Palette of Petals

Rain drops and snow drops...


And snow...


The last of the season?  It must be.  

But Spring is doing her best to stay on schedule and push out the petals...


Even if she has to shake a little snow off her shoulders.

I've taken a page from her book and have been pushing out petals too.


A whole palette of rose petals for Mrs. Rose's block...


Inner and outer petals in four different sizes...


And in many shades of pink...


That way I have a palette of sizes, shapes and colors to choose from when I start sewing them into branches, sprigs and canes.

Now I need a similar palette of leaves.  Since I don't have the right ribbon for them in my stash, I've had to place an order and am waiting for the mailman.

In the meantime, I'm working on some Japanese embroidery.

Happy Monday.

Wednesday, March 12, 2014

A Rosy Start


Last night Jim and I opened a bottle of wine and had a little rose celebration in my house. 

You see, you guys don't know it but I've been dreaming and planning and gathering materials with the hopes that one day I could try to make miniature millinery flowers...


And yesterday the stars aligned, the materials were all present and my little mini roses worked!!

I have a bit of tweeking to do of course but generally I believe the method is possible and a great beginning to my rose bower on Mrs. Rose's block.

I borrowed concepts from traditional millinery flower making books.  The first I found was from Lacis and was printed in 1984.  The methods were for large scale flowers but I felt like I could translate them if I could just figure out the tools.   

I tried with using a very thin interfacing for making flowers when I made these Alstroemeria for my Daughter's Valentine piece, when I made these poinsettias, and when I made these Black-eyed Susans for our motif swap at the Crazy Adventure in Connecticut.  These methods worked OK but the interfacing added bulk to the flower and interfered with the petals holding their shape over time.

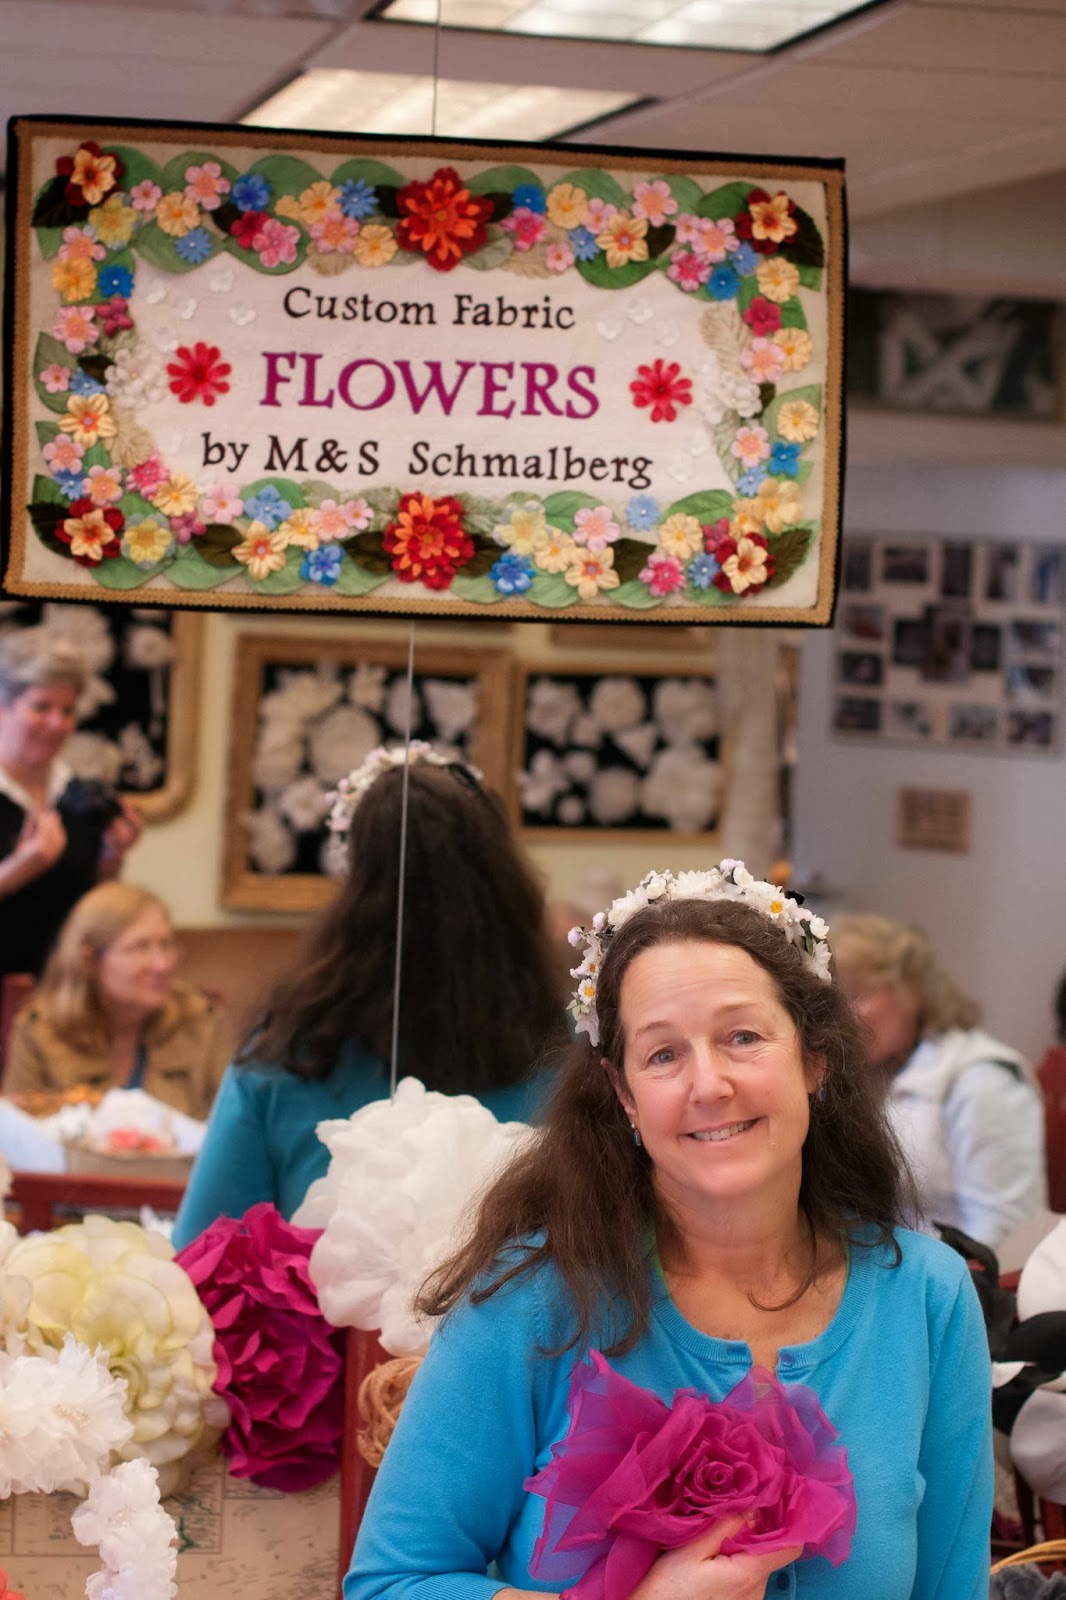
Then in April 2011, Allie took us on a field trip to M&S Schmalberg, a milliner in the garment district in NYC.  They have beautiful flowers...it makes you happy just to go there and it's cheaper than therapy!

Here's Allie standing below the banner quilt that she made for them because she loves them so much.


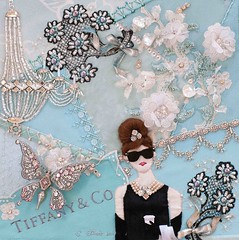
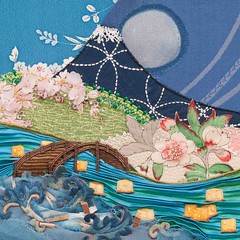
At Schmalberg, I learned how traditional millinery flowers were made.   Allie uses many of them in her award-winning quilts so I purchased a few organza petals which I used in my Breakfast at Tiffany's block and in the cherry blossoms on my Hearts and Hands for Sendai block.  They worked great, the only constraint being that the smallest flower I could purchase from them was one inch large.  I can't believe I'm saying one inch is large but in some scenarios, it is!

These little guys I made yesterday range from 3/8" to 1/2" and I think smaller is even possible.


My trip to Schmalberg gave me insight into millinery flower production which I was able to tuck away for future reference.

Future reference ended up being yesterday.

I roughed up a petal pattern in three different sizes using the three different silk paint samples from yesterday.  I cut them out and then used an iron and heated various small tools I had to shape the petals.


I couldn't believe how well it worked.  

Increasingly I've been working in three dimensions and felt somewhat constrained by stumpwork and ribbon embroidery methods.  Though I still love both, they have their limitations in scale and design.

Painting my own silk will allow me a lot more flexibility in color choices and sculpting the silk will allow me to make flowers in multiple shapes and sizes to better reflect what occurs in nature. 
I still have many more hurdles that I haven't figured out...for instance, those roses need sepals and stems...and I haven't figured out how I'm going to do the rosebush canes, how to do thorns, leaves, etc.

But it's a beginning.  And a pretty rosy one at that.  


Happy Spring.

Monday, March 10, 2014

Bower Beginnings

Finally, life is settling a bit, the monkeys have left my back and I'm ready to work again with Mrs. Rose.

It's been too long.

I've take some time to re-acquaint and mock up a quick outline sketch of where I need to go next.  I'm planning to make a rose bower on the block...


A climbing rose that clings to the wall and that has three-dimensions so that it hangs out over the mirror and Mrs. Rose.

A bower provides shelter and protection in garden.  Not normally in a nursing home...the bower signifies how the gift of Mrs. Rose transformed her environment from a cold, stark nursing facility into a beautiful, sheltering space.


I've thought about which techniques might work and I've decided to mock up two different scenarios.  One is a modified stumpwork scenario and the other is an attempt at miniature millinery.

I'm going to give the mini millinery a try first. 

Since the scale of the roses are 1/2" or so...I'm not quite sure I can make it work.  Same is true for the stumpwork idea.  The smallest stumpwork flowers I've ever made were about 1".

So let the experimenting begin.    

First thing I want to do is figure out which paint works best on the silk.  So far, I'm liking the Setasilk the most but I'm going to reserve judgement until I actually work the silk into flowers.  


I'm not worried about color just yet.  Just trying to figure out which paint/silk combination will handle the best.

Off to keep working.  I'll let you know what happens next time.   

Thursday, June 6, 2013

Through the Window of Mrs. Rose's Room

Holy Smokes!  I had no intention of not being here the last two weeks.  The transition from end-of-school to Summer chewed up my days in new and exciting ways and left little time to sit down and work through the next steps with Mrs. Rose.

So I did what any respectable needlewoman would have done under time constraints...


I got out some cross stitch and took it with me to stitch when I could.

Both cross stitch and knitting are easy to pick up and put down.  I actually had to dust this one off since it was bought in 2001!

As for Mrs. Rose, I finally turned my attention back to her today.  The next step in that project is to introduce climbing roses that grow over the walls, creating a rose bower that provides shelter and warmth.

It is the gifts that Mrs. Rose gives that transforms her environment from a depressing institution into a home.

I drew from a number of pics online to help me decide how best to create this bower of roses.  I like how this rose climbs up the walls...


And how these roses grow to frame a doorway...


Or drape down over a wall.


While I was pondering my next steps, I happened to get another bi-weekly newsletter from Robert Genn.  I've mentioned him before and can't say enough how helpful I find his tips.

This time his letter was on "Cropping"-- you can read the full letter here.

The upshot is that there are tricks to deciding what is placed in the "window" of the painter's canvas...what is cropped and what is not.

The advice was quite timely and useful since I'm currently deciding how to draw and shape the bower.  I hadn't considered that I'd been creating "windows" into my work, but it is true of many of us who are working within the confines of a quilt block.  Check them out...
  • Do not have curved areas or lines tangential with the edges.
  • Do not have a lot of small items dribbling along edges.
  • Do not have spikey or angular items pointing too directly at corners.
  • Do not have an even or symmetrical division of elements lying against the frame edges.
  • Do have a design near the frame edge that has both positive and negative areas.
  • Do vary the thickness of lines and patches that lie against, come up to, or approach those edges.
  • Do have mystery, understatement, softening, incompleteness and wabi-sabi as part of your edge consciousness.

After digesting these guidelines, I found myself looking to some famous rose bowers within paintings to see how other artists treated the cropping of a rose bower.

In the painting below, the Madonna is placed centrally in the painting yet the roses on either side are asymmetrical.  I also note the larger roses in the left foreground adding more interest...

Madonna in the Rose Garden by Martin Schongauer ca. 1473

And the bower in the picture below surrounding Sleeping Beauty has been cropped quite severely at the edges...

The Rose Bower by Edward Burnes-Jones ca. 1885-1890
Note that the vines do vary in size and are not tangential to the edges.  The poem at the bottom of the frame was written by William Morris, a contemporary of Burnes-Jones.  Did you read it?  It's quite lovely and mentions love, treasure and a gift.

And Morris himself has provided a climbing rose design to inspire...

"Trellis" wallpaper by William Morris c. 1859
This last painting shows lots of flowers encapsulating another sleeping beauty, giving the impression that we really are looking through a window framed by roses.

Rose Bower by Hans Zatzka c. 1859
With all this to study and consider, I'm off to sketch a design for the climbing roses and to hunt down the right fibers for stitching the climbing vines.

It's great to be working on roses right now since they are blooming everywhere.

Speaking of gardens, the bluebirds have come back this year and I have three baby bluebirds in my bluebird box.  They were just starting to hatch when I took this pic... 


I'll take an update picture in the next few days.

Happy June and Happy Roses everyone!

Related Posts with Thumbnails