Holy Smokes! I had no intention of not being here the last two weeks. The transition from end-of-school to Summer chewed up my days in new and exciting ways and left little time to sit down and work through the next steps with Mrs. Rose.
So I did what any respectable needlewoman would have done under time constraints...

I got out some cross stitch and took it with me to stitch when I could.
Both cross stitch and knitting are easy to pick up and put down. I actually had to dust this one off since it was bought in 2001!
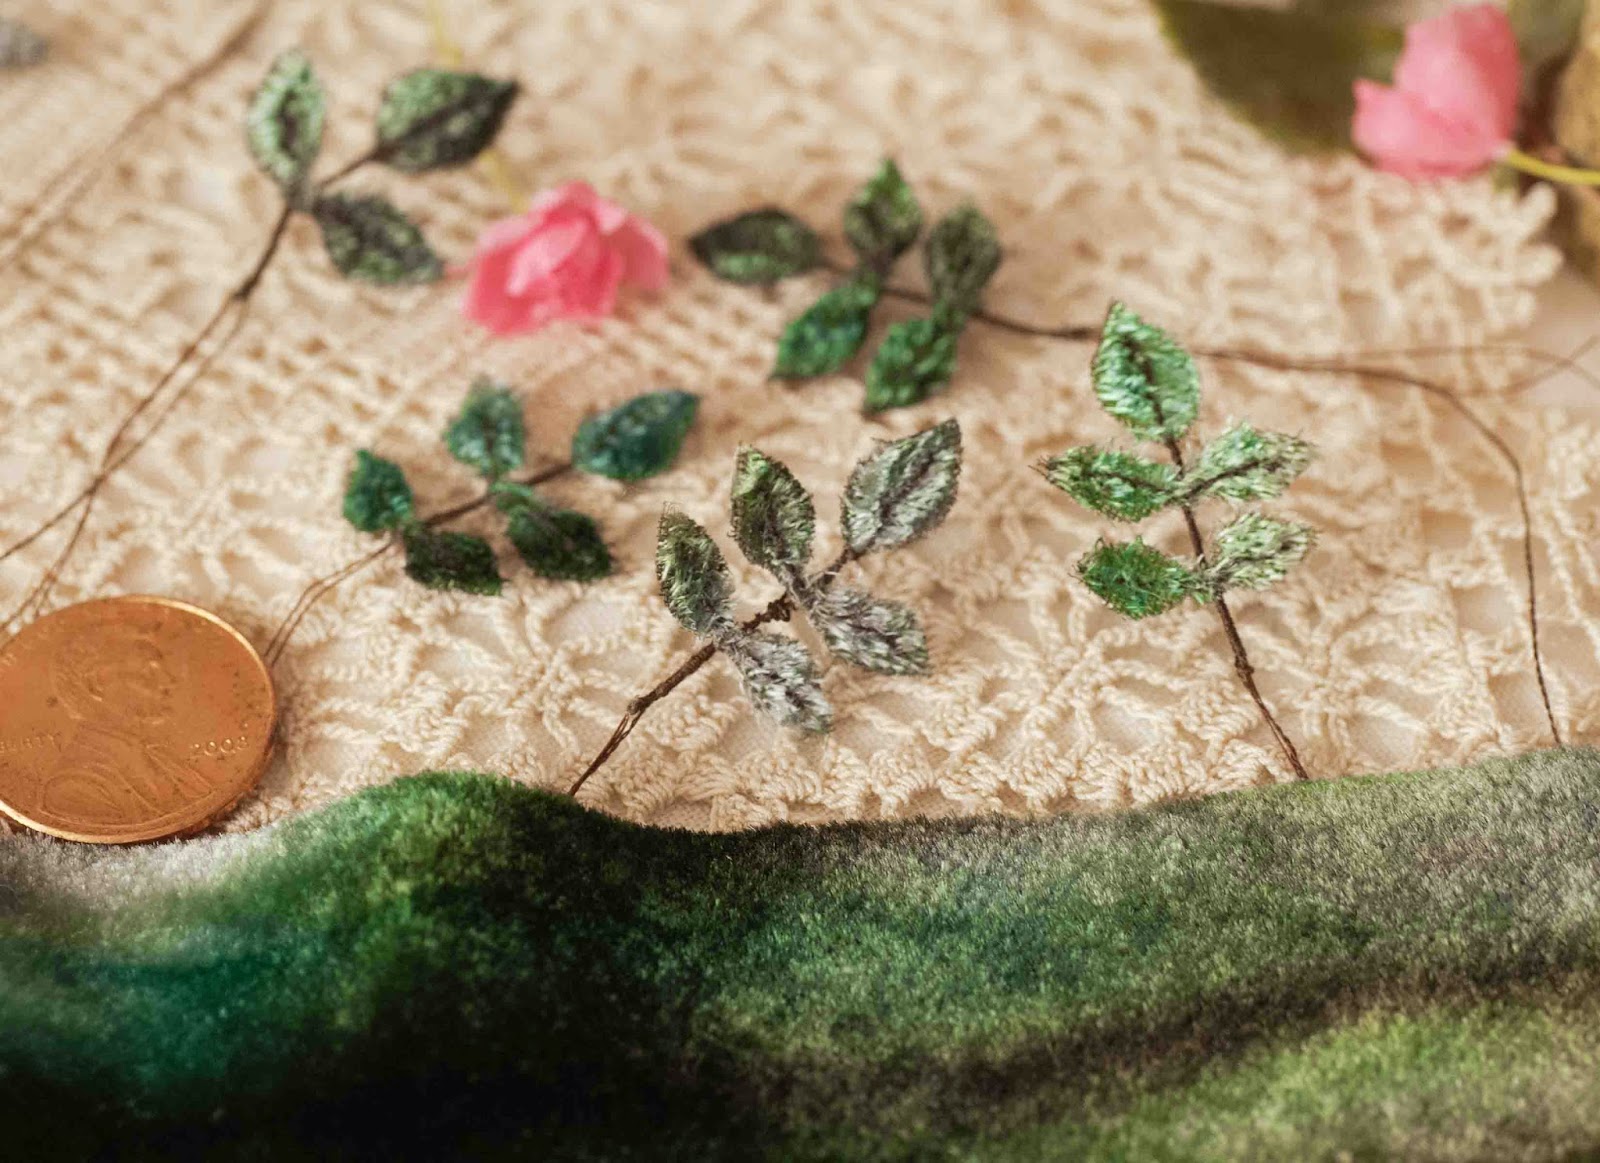
As for Mrs. Rose, I finally turned my attention back to her today. The next step in that project is to introduce climbing roses that grow over the walls, creating a rose bower that provides shelter and warmth.
It is the gifts that Mrs. Rose gives that transforms her environment from a depressing institution into a home.
I drew from a number of pics online to help me decide how best to create this bower of roses. I like how this rose climbs up the walls...
And how these roses grow to frame a doorway...
Or drape down over a wall.

While I was pondering my next steps, I happened to get another
bi-weekly newsletter from Robert Genn. I've mentioned him before and can't say enough how helpful I find his tips.
This time his letter was on "Cropping"-- you can
read the full letter here.
The upshot is that there are tricks to deciding what is placed in the "window" of the painter's canvas...what is cropped and what is not.
The advice was quite timely and useful since I'm currently deciding how to draw and shape the bower. I hadn't considered that I'd been creating "windows" into my work, but it is true of many of us who are working within the confines of a quilt block. Check them out...
- Do not have curved areas or lines tangential with the edges.
- Do not have a lot of small items dribbling along edges.
- Do not have spikey or angular items pointing too directly at corners.
- Do not have an even or symmetrical division of elements lying against the frame edges.
- Do have a design near the frame edge that has both positive and negative areas.
- Do vary the thickness of lines and patches that lie against, come up to, or approach those edges.
- Do have mystery, understatement, softening, incompleteness and wabi-sabi as part of your edge consciousness.
After digesting these guidelines, I found myself looking to some famous rose bowers within paintings to see how other artists treated the cropping of a rose bower.
In the painting below, the Madonna is placed centrally in the painting yet the roses on either side are asymmetrical. I also note the larger roses in the left foreground adding more interest...
 |
| Madonna in the Rose Garden by Martin Schongauer ca. 1473 |
And the bower in the picture below surrounding Sleeping Beauty has been cropped quite severely at the edges...
 |
| The Rose Bower by Edward Burnes-Jones ca. 1885-1890 |
Note that the vines do vary in size and are not tangential to the edges. The poem at the bottom of the frame was written by William Morris, a contemporary of Burnes-Jones. Did you read it? It's quite lovely and mentions love, treasure and a gift.
And Morris himself has provided a climbing rose design to inspire...
 |
| "Trellis" wallpaper by William Morris c. 1859 |
This last painting shows lots of flowers encapsulating another sleeping beauty, giving the impression that we really are looking through a window framed by roses.
 |
| Rose Bower by Hans Zatzka c. 1859 |
With all this to study and consider, I'm off to sketch a design for the climbing roses and to hunt down the right fibers for stitching the climbing vines.
It's great to be working on roses right now since they are blooming everywhere.
Speaking of gardens, the bluebirds have come back this year and I have three baby bluebirds in my bluebird box. They were just starting to hatch when I took this pic...
I'll take an update picture in the next few days.
Happy June and Happy Roses everyone!