Showing posts with label beading. Show all posts

Friday, November 14, 2014

Ravens Wrap

It's Purple Friday here in Baltimore...

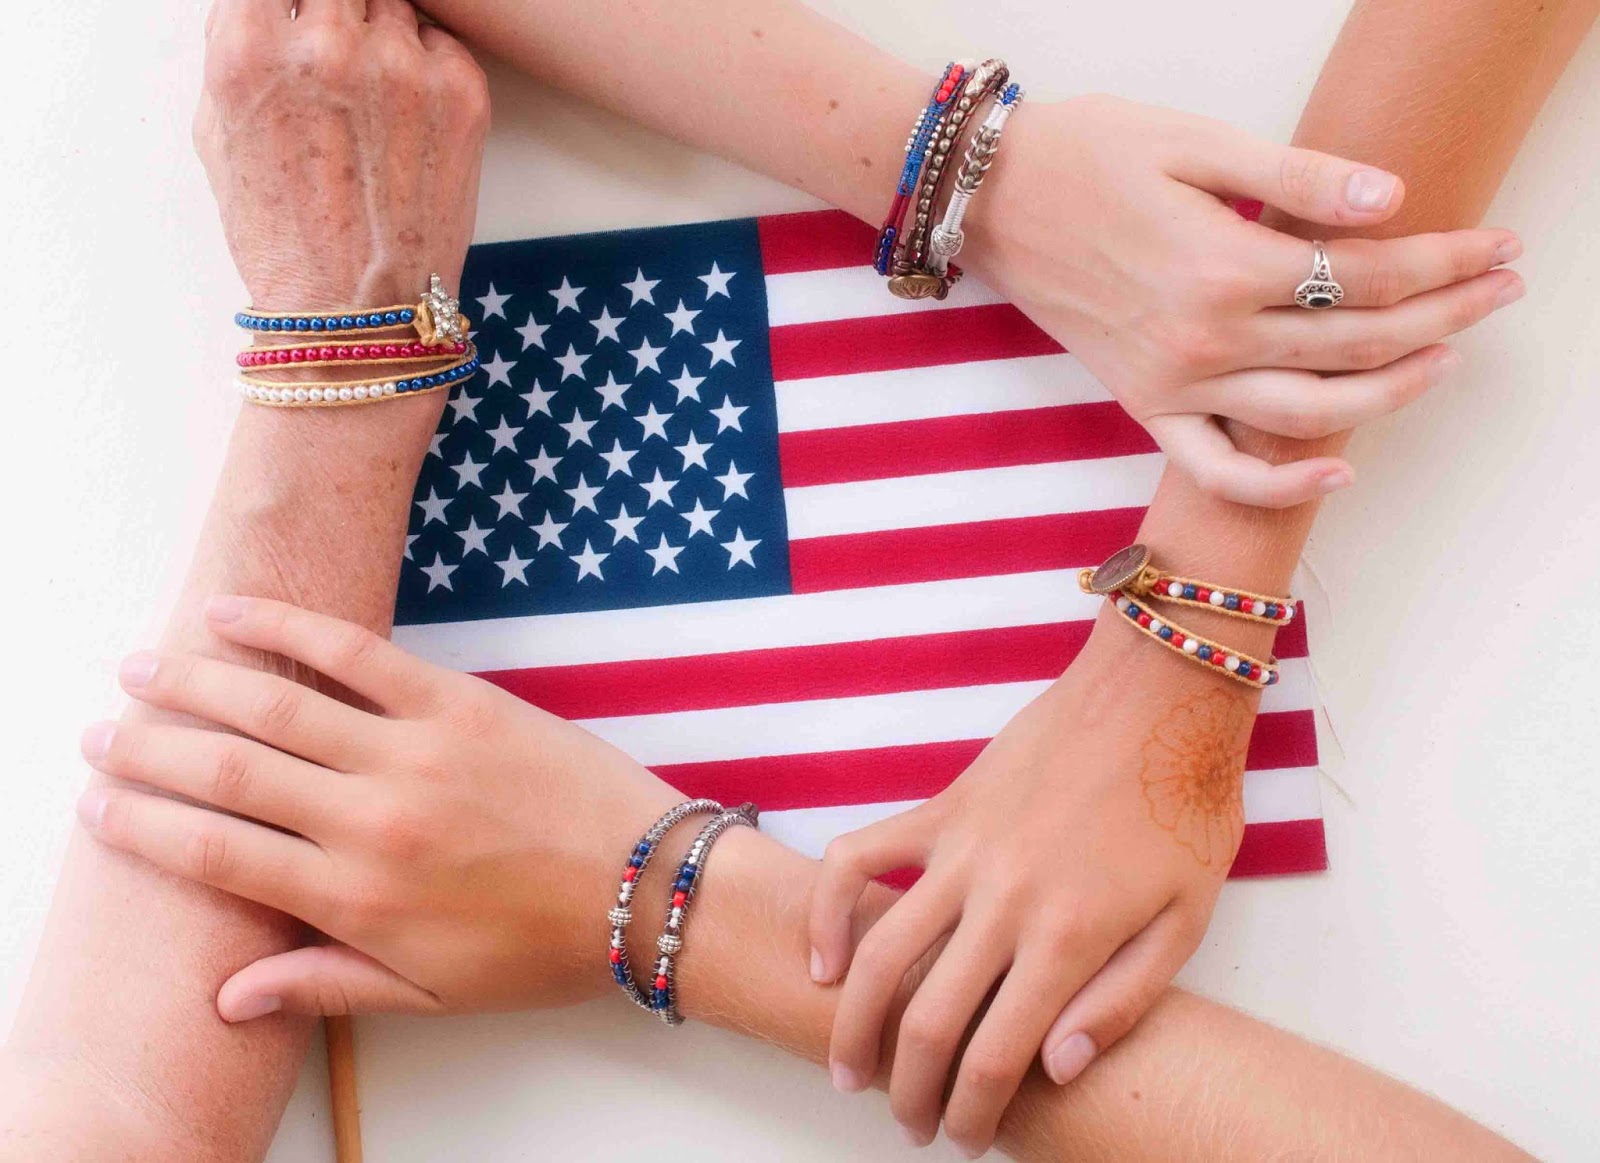
And even though we have a Bye this week on the football schedule, I've suited up anyway with this new wrap bracelet.

It's freezing here today so the more wraps the better.  This bracelet has five.


I've completely fallen in love with these wrap bracelets because they allow so much flexibility in design.  And because of the wraps, it feels like you're wearing five separate bracelets instead of one.

I was psyched to find these vintage black glass buttons that kind of look like footballs in my stash.


And you can purchase official NFL charms from FireMountain.com.  You might want to check around for a cheaper price.  I noticed they had gone up a few dollars since when I bought mine.


There are great video tutorials on Beadshop.com on how to ladder stitch between leather cording.  Once you master that, you can make bracelets for any occasion.

Remember the ones our family made for Fourth of July?  They're here on this post.

These bracelets would make great Christmas gifts.

A big thank you shout-out to the Friendship Bracelets website.  I modified one of their friendship bracelet patterns for the "Ravens" logo.

Have a great weekend everyone~!

Wednesday, July 23, 2014

Wrappiness --- Round Two

The nieces and I have been wrapping again.

When we gathered for the Fourth of July, we were down five nieces...so I caught up with four of them the next weekend to make patriotic wrap bracelets, round two.


They had the benefit of seeing the ones made by the first group...and they took to the technique like fish to water.

Poring over the choices for buttons and beads...


Measuring their wrists and deciding on the total number of wraps...


Learning to ladder beads between two pieces of leather cording...


And getting a little help when needed...


It's always fun to see how one basic technique can lead to such wonderfully unique results...


Katie charted and beaded this "USA" inspired section...


And a couple of the girls wrapped a few rhinestone cup chain sections in their bracelets...


The results were star-studded spectacular.  


And though we're a little late for Fourth of July, we're just in time for the Star Spangled Spectacular to be held in Baltimore in September, commemorating the 200th birthday of our national anthem.  

Now that the girls all know the technique, they've begun to branch out on their own and make lots of other versions...like this stunning example designed by Ellie...


I just love it and so does she.

I highly recommend this project for a crafty gathering; it takes about a full day.

And it's more fun if everyone can just relax and get wrapped up in the flow of the making.


[Note:  If you're interested in making wrap bracelets too, I highly recommend the projects, videos and supplies provided at Beadshop.com , click on subheading Cool Projects.]

Jim, Jack and I just got home from Jack's college orientation at Northeastern University in Boston, more on that next post. 

Miss you all but will have more time in another month or so when I'll be back online more regularly.  Until then, I'll bop in when I get a minute.  

Happy, wrappy day.

Thursday, July 10, 2014

Wrapping up the Fourth of July

If any of you are still out there following this blog, you'll know that my family goes to the beach every year to celebrate Fourth of July.  For us, it's almost bigger than Christmas.

This year was a bit different in that six of us weren't there...and a tropical storm came through which re-configured the normal parade of Fourth fanfare and fireworks.


If you've been following this blog for a while you'll also know that we usually make some form of patriotic, over-the-top red, white and blue creation to wear.  Thanks to the tropical storm we had a day's worth of rain and bad weather gifting us plenty of time to sit and create...


[Assisted by that wonderful-husband-of-mine Jim who fed us throughout the day...see him all flagged-up in the kitchen?]

This year we made wrap bracelets...


Having gone through my bead and button stash to gather a supply of patriotic-ish baubles...


Most of the bracelets had a flair for the Fourth...


But not all.   In the true spirit of the Fourth and freedom of expression...


Not everyone wanted a patriotic bracelet.  Rather, there were a couple created that could be worn all year round...


And see that beautiful henna tattoo?  

My niece Allison has quite a talent for drawing and has set up shop as our resident henna tattoo artist...


Everyone was lining up to get a chance to wear her artistry...


Even Jack.


Luckily for Allie, her sister Grace also has talent and drew this lovely intra-scapular art doodle...


While the gals were busy beading and tattooing, the men were not to be outdone.

My BIL Jim is a master griller and made pit beef sandwiches hand-delivered to the beach as well as yummy fall-off-the-bone ribs for dinner...


With gourmet accompaniments fresh from the farmers' market provided by my sister Sheila, we are spoiled rotten at the beach and eat like royalty.

Noticing that BIL Jim was struggling to put his heavy ceramic "Green Egg" grill away over uneven ground, my brother Mark got busy pouring concrete and made him a surface slab for easy storage and removal...


All in all, we had another gathering where the the group was greater due to the sum of its parts...


If you're interested in making wrap bracelets too, I highly recommend the projects, videos and supplies provided at Beadshop.com , click on subheading Cool Projects.

I used their "Wicked Mood" bracelet as a prototype for my patriotic version...


And instead of using the beading boxes they use in the videos, we used empty cardboard bolt boards that JoAnn fabric stores gave to me for free.


Summer is always a busy time as I spend more time out of doors and traveling.  Though I'm still creating, I am not posting as much as I might like.  My posts are sporadic at best and I expect a much more regular blogging schedule when Jack goes to college in September.

Until then, I will still be here, posting when I can.  Here's wishing you beauty and joy where ever you are, whatever the season.

~~~~~~~~~~~~~~~~~~~~~~~~~~~~

You can see our past patriotic projects here:

2010:  T-Shirts
2009:  T-Shorts
2008:  Baseball Hats

I just realized I'm on my eighth blogging year.  Wow.  When I go back and look through past posts, it makes me love this blog all the more.  Thanks for joining my journey. 

Thursday, February 27, 2014

Cubes, Zig Zags and Spirals

Over the weekend I had a chance to learn a beadweaving technique called Cubic Right Angle Weave or CRAW.


We have a Bead Society in Baltimore and they were hosting bead artist Jill Wiseman who happens to be the author of this wonderful book... Beautiful Beaded Ropes.    I found it at my library.

Remember that spiral rope that I did over Christmas...


Well, those of you who asked for a pattern, read on!  Jill had more surprises up her sleeve than just teaching me CRAW.

So what exactly is cubic right angle weave?   

Take a look at the very right tip of this beaded strip...


The cubes are woven by weaving four beads together in a circle to form one "side", then repeating it for three more sides, a top and a bottom.  The weaving proceeds by adding one cube to the preceding cube.

Once you get the basic cube idea down, you could change directions many times over to make all kinds of interesting shapes.

I'll be adding two more rows of zig zags to either side of the piece below before I am finished.


Lately, I've been doing a lot of beadwork.

More specifically, I've been trying to learn different methods for manipulating and weaving seed beads.  Whether it be loomwork, peyote, brick stitch and now right-angle weaving...I feel like all the methods are translatable to traditional needlework pieces.  I'm hoping that knowing the techniques will help me create my own designs to add to my embroideries.

Now for the great news.  Jill Wiseman has her own You Tube channel and has invested in hiring a professional videographer to film her tutorials.  So lucky us can learn from her FOR FREE and without having to travel to a class.  Isn't that grand of her!

Here's her video on how to do Cubic Right Angle Weave...

And here's her video on how to weave and finish a spiral rope.

Can't you see the spiral rope used for edging one of your embroideries?

Her You Tube Channel, Jill Wiseman Designs, has tons of free information, free projects and videos on beadweaving basics from beading surfaces and needles to reading charts.

If you're just beginning, it's a great place to start.  You might want to subscribe to her channel so you get updates whenever she uploads a new video.  Jill also has a website where she sells bead supplies, patterns and kits.

I'm off to zig zag some more.

Happy bead dreaming everyone. 

Wednesday, January 29, 2014

Bead Chains of the 1830s

Woven bead chains were unknown to me until just a few months ago when Diane Fitzgerald came to teach a workshop at our Guild.


Not more than one week after her visit, I stumbled upon two bead chains available for sale.  One at an  antique store not far from my house and one on Etsy.

I couldn't believe my luck.  What is the likelihood that, after just hearing about these antique bits of needlework, I would find myself confronted with two real-life examples...?


All of this in the same month that I would buy my first bead loom and begin taking classes from bead looming expert, Erin Simonetti.  

I don't ever take serendipitous events lightly.  So I did what any good bloodhound would do when confronted with such a coincidence.  I followed the path, did some more research
 and I bought the two beaded ribbons.

So...what are these beauties and what were they used for?

All my knowledge comes from two articles written by Massacusetts Textile Curator, Lynn Zacek Bassett.

According to one article which appeared in the December 1995 publication of The Magazine Antiques, these finely woven chains were popular in America in the mid-1830s and they were woven on a loom similar to the one pictured above.

The chains were quite long, ranging in length from 40 to 60 inches.  The beads used were most likely from Murano, Italy and were much smaller than anything we have commercially available today.  

The bead chain pictured below is only 3/8" wide and contains about 12 beads per row or 28 beads per inch.  This makes for a very delicate and lovely ribbon of beading...


It is believed that the popularity for bead chains originated in young ladies' academies where beading was often part of the fancywork curriculum taught together with other domestic arts such as embroidery.

It was common to bead your name, age and place of residence into the chain similar to the practice incorporated into girlhood samplers.

One of my chains has the date "1834" and the name "H.W. Gilbert" woven into the strip which is completely consistent with the author's research...


The chains were often worn as necklaces and were finished with tassels or bits of silk ribbon at the end.  


Often there would be a watch or key tied onto one ribbon end and tucked into a belt while the other end would be pinned to a bodice. 


There are historical accounts of the chains being worn as adornment in the hair and also carried by men as watch chains. 

Bead chains frequently included memorials, sentiments of friendship, virtues or moralistic mottoes.  

Though neither one of my finds contains a written message, the dark blue version does contain many motifs representing religious faith, domesticity, and love.

 A few appear such as faith (cross), charity (heart) and birds (signifying the soul)...


And crowns which often represented immortality in heaven...


The fad was short-lived and seemed to be limited to the 1830s.  

I find them to be very lovely, reminding me of a beaded strap used for a chatelaine, though too delicate to actually be used for that purpose.  They are not well-known and are often misnamed by museums and collectors as either belts or necklaces.

Perhaps you have run into something similar and not known what it was called?  

I saw one on Ebay the other day that has since sold.  It only had a name woven into the ribbon..."Ruth".  No date.  Here's a link to the sold listing so you can see it.


Diane Fitzgerald has a group of beading pals that are all making a section with the intention of swapping sections with one another to form a chain.  Rather than using a loom, they are using the peyote stitch so that each section can be "zipped" together.

I imagine it as a friendship sampler of sorts...a chain of friends similar to something like the ribbon pictured below...

This one appeals to me most and I imagine it would be fun to do a journal ribbon of sorts.  Once again, the mind is a whirlwind of possibilities.

A few of my friends are beginning to play with the concept and we may end up doing a similar exchange.

Many thanks to Diane Fitzgerald for sharing these delightful bits of history so that I can share them with you.

I also found another great article written by Lynne Zacek Bassett in the May/June 2000 issue of Piecework Magazine titled Guard Thy Hours: Bead Watch Chains of the 1830s which included a pattern for the chain pictured on the cover to make yourself...


I'd be interested to know if any of you have ever encountered one of these chains or intend to make one  in the future.  Keep me posted.

Monday, January 27, 2014

Looming Snowpeople -- Progress Report

Over the weekend, I attended Part II of my looming snowmen class with Erin Simonetti at Bead Soup in Savage Mill.

Once again, Erin did not disappoint.  

We learned ways of adding dimension such as the pop-out eyes, the noses, the pompom and the scarf...


I still have to finish my icicle swag and give the big snowman some scarf fringe and a flower for his hat brim. 

Erin Simonetti Snowman Bracelet In-Progress
One thing I'm still not sure about is the top edge of the bracelet.  I'm not sure if I'm finished up there or if I should add something else.  I'm going to wait to see how big my icicle swag gets on the bottom edge before I decide.

One thing I discovered is that the Coronet Braid that I had in my stash works really well as a warp.  


Normally, we use a twisted cord called C-LonTex 400 but I didn't have any so I found this braid made for needlepoint worked very well.  The sparkle from the braids were perfect for this design.

There is so much potential with this technique that my mind hasn't stopped spinning since class on Saturday.

The more comfortable I become, the more I'm thinking of the loomed "base" as a piece of "fabric" that is prepped for embellishment.

I am thoroughly enjoying learning this new technique from Erin whom I believe to be a master in the creative possibilities of loom weaving. 

I have to figure out the clasp and a few finishing details so it may take a few more days before I'm wearing it.

But it's a pure shot of happiness to work on something so festive and fun...


What's not to love about all that sparkly, icy goodness?

Happy Monday!

Related Posts with Thumbnails