Thursday, February 27, 2014

Cubes, Zig Zags and Spirals

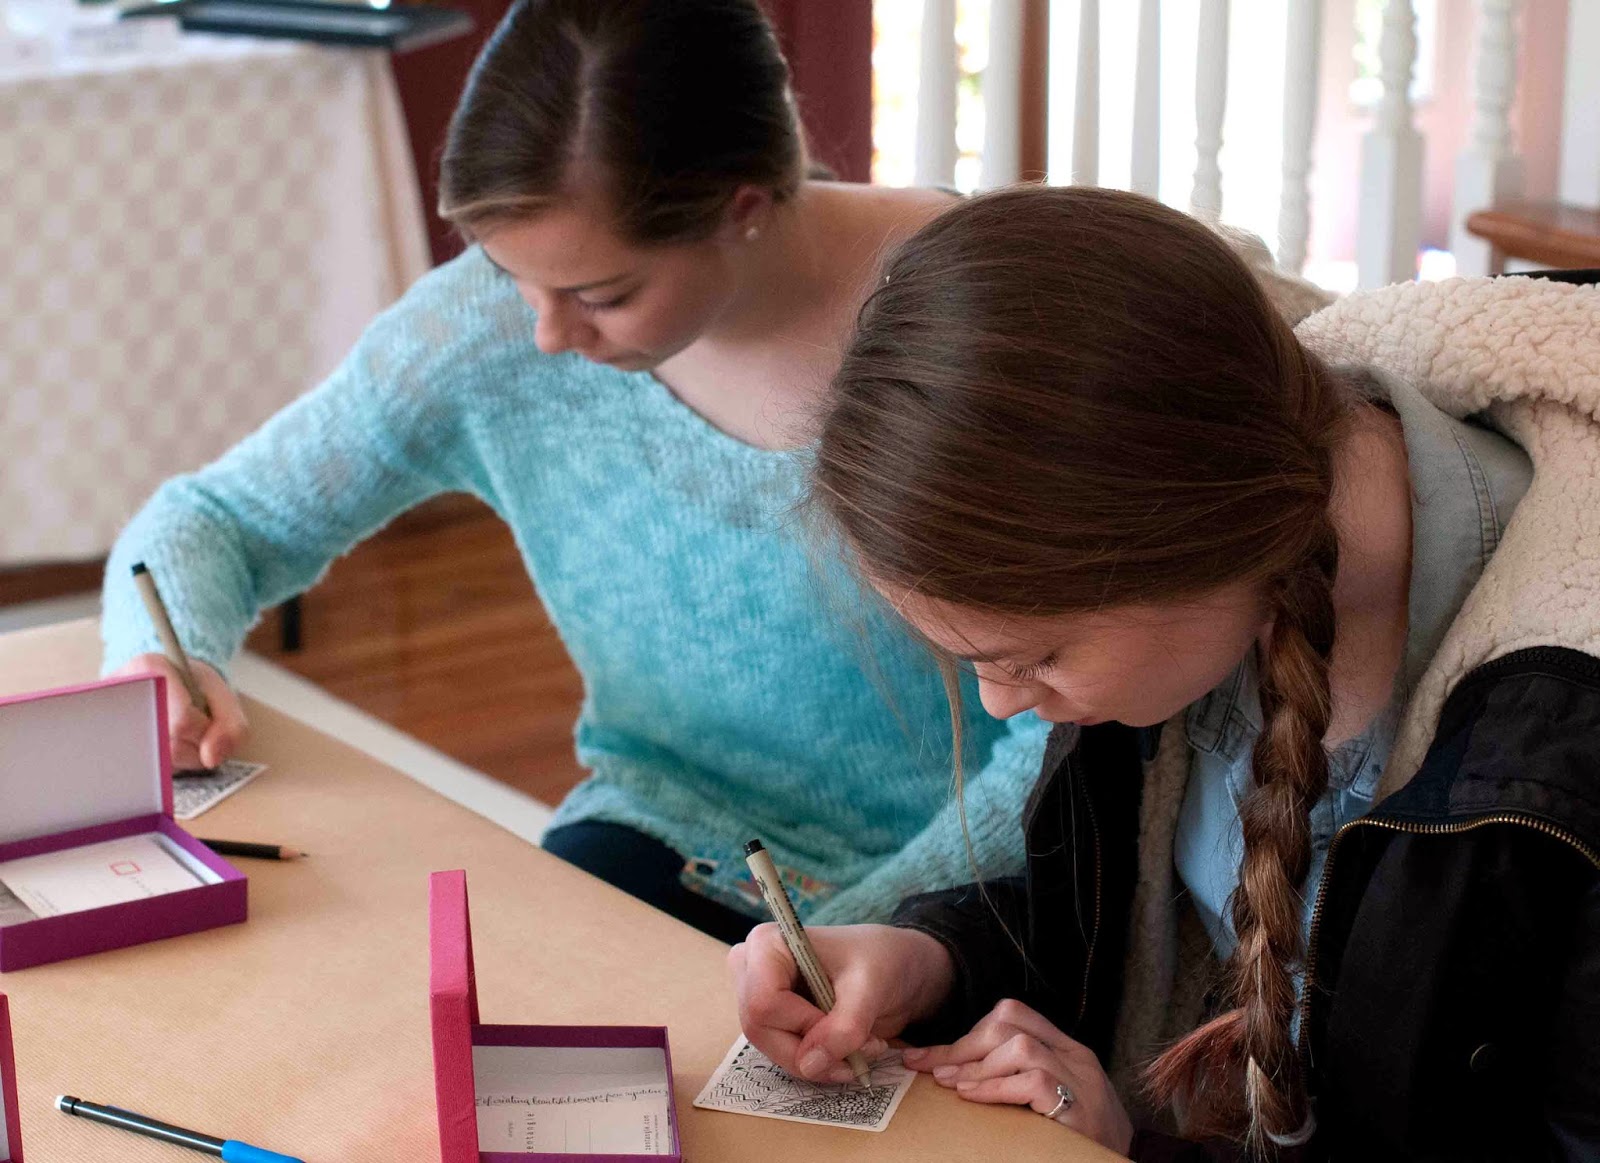
Over the weekend I had a chance to learn a beadweaving technique called Cubic Right Angle Weave or CRAW.


We have a Bead Society in Baltimore and they were hosting bead artist Jill Wiseman who happens to be the author of this wonderful book... Beautiful Beaded Ropes.    I found it at my library.

Remember that spiral rope that I did over Christmas...


Well, those of you who asked for a pattern, read on!  Jill had more surprises up her sleeve than just teaching me CRAW.

So what exactly is cubic right angle weave?   

Take a look at the very right tip of this beaded strip...


The cubes are woven by weaving four beads together in a circle to form one "side", then repeating it for three more sides, a top and a bottom.  The weaving proceeds by adding one cube to the preceding cube.

Once you get the basic cube idea down, you could change directions many times over to make all kinds of interesting shapes.

I'll be adding two more rows of zig zags to either side of the piece below before I am finished.


Lately, I've been doing a lot of beadwork.

More specifically, I've been trying to learn different methods for manipulating and weaving seed beads.  Whether it be loomwork, peyote, brick stitch and now right-angle weaving...I feel like all the methods are translatable to traditional needlework pieces.  I'm hoping that knowing the techniques will help me create my own designs to add to my embroideries.

Now for the great news.  Jill Wiseman has her own You Tube channel and has invested in hiring a professional videographer to film her tutorials.  So lucky us can learn from her FOR FREE and without having to travel to a class.  Isn't that grand of her!

Here's her video on how to do Cubic Right Angle Weave...

And here's her video on how to weave and finish a spiral rope.

Can't you see the spiral rope used for edging one of your embroideries?

Her You Tube Channel, Jill Wiseman Designs, has tons of free information, free projects and videos on beadweaving basics from beading surfaces and needles to reading charts.

If you're just beginning, it's a great place to start.  You might want to subscribe to her channel so you get updates whenever she uploads a new video.  Jill also has a website where she sells bead supplies, patterns and kits.

I'm off to zig zag some more.

Happy bead dreaming everyone. 

Monday, February 24, 2014

Family Tangles

If you ask a class of second graders how many of them are artists, all of them raise their hand.

If you ask a class of thirteen year olds the same question, only a few hands go up.

That's what educator, horsewoman, artist and Zentangle teacher, Deanna Williford, shared with us this past Saturday.


Something happens as we get older.  We stop drawing.  We stop playing.  We start judging ourselves and telling ourselves all the things that we are not.

So on Saturday, I invited Deanna to come teach my nieces, Jack and my siblings the art of tangling.

I had never "tangled" myself and I knew everyone would enjoy being exposed to Deanna and to this fun and relaxed method for drawing structured patterns.


I found Deanna's name on the Zentangle website where there is a list of certified teachers throughout the world.  She lives only a few minutes from my home and she teaches at the Columbia Center for the Arts.

The fact that the nine kids are all different ages really works.  And because we've been gathering for years to play and make things, they are all pretty focused when it comes to creating art.


Deanna made a small kit for each one of us which included three zentangle tiles, a graphite pencil, a .01 micron pen, a kneaded rubber eraser and a tortillion...


We had never used tortillions (cylindrical drawing tools made from rolled paper).  And the methods of using the graphite with the toritllion to shade our drawings was new to all of us.


Zentangle was a great family activity because all ages could feel successful from oldest to youngest...


Technically, I'm a year older than my brother John but I didn't have a picture of me at work so...sorry brother.

Deanna brought lots of examples of gifts you can make with tangles...


The kids loved the shoes and got lots of ideas for presents for parents and friends.

I loved how Deanna kept referring to all the kids as artists.  


And I was really impressed with how quickly they all took to it.  

Even Jack gave it a try...


After just 2.5 hours, this is was our class result...


And we had worked up quite an appetite.  By this point, we'd adopted Deanna as a member of the family...


And even though Deanna needed to leave to tend to her horses...


Her influence was felt long after she'd gone.  This is a pic of the work table an hour or so after she had left...


Still drawing and playing and tangling...


And taking the method in their own directions...


Deanna believes we can all draw once we know the tricks.  Most adults draw like they are in second-grade because that's the age they stopped drawing.

After spending the day with her, the kids aren't the only ones who are inspired.  I've never had any formal art training so today I'm determined to self-study my way through this book that's been sitting on my shelf.


Thank you Deanna for a great day and giving us the gift of zentangle.  I can't wait to see what we can do on fabric through embroidery and painting.  In fact, I found this book which I've just put on reserve at my library...Zentangle Fabric Arts.

Happy Monday everyone and don't stop drawing!

Monday, February 17, 2014

A Looming Mystery

Last Saturday was a day full of mystery.

Seventeen of them to be exact.

That's the day when seventeen of Erin Simonetti's bead looming students gathered at bead-mecca and home-away-from-home, Bead Soup in Savage Maryland.

Unbelievably, Erin had prepared a different mystery bracelet pattern for each participant, custom-designed to our interests, loves and hobbies.

We had no idea what our bracelets were going to be so there was no choice but to select our beads and start beading row by row.

Here is how my mystery started out...just piles of beads and a chart telling me how much of which bead goes where...


I was so excited.  I loved the colors already especially the blues and purples.

Here's what my design looked after the first six rows...


We bead from the center and down one side, flip the loom and then bead the other side.
Here's what my mystery looked like after two more rows...


OK.  At this point, the staff at the shop are telling me..."O my gosh, you should totally know what that is.  The black gives it away!"  How about you?  Can you guess?

All over the room, you could hear people trying to guess their designs as they beaded.  When I heard someone thought theirs might be a naked fireman, I tore myself away from the "next row syndrome" and walked around.

This is Mickey and you can already see what her bracelet is going to be...


Eunice is from Hawaii and she had some of the brightest beads of the day...


Here you can see the beginning of a blue koi with hibiscus and plumeria flowers.  Beautiful.

Lisa has a Pomeranian dog...


and Beth loves the beach and being by the sea...


Erin spent lots of time snooping on her students' lives online using social media sites such as Facebook.

Here's my bracelet after a few more rows...


Can you guess yet?  I couldn't.

My seat mate Lynda's pattern had three huskies.  Erin remembered that she had once asked for help in designing a husky pattern.


You can see 3/4 of one head on the lower half...rotate the pic 90 degrees counterclockwise and you can see it better.

Anna loves to knit and crochet.  You can just see the handles of a pair of scissors and a couple of balls of yarn appearing on hers below...


And Betty loves to embroider and sew...


Emily is our resident golfer...


And Maureen loves tree frogs...


What I enjoyed even more than the mystery of each design was getting to learn something new about each person in class.

Most of them didn't realize I had this blog until my pattern started to reveal itself even more...
Now can you guess?

At this point, I could see that the pattern probably said "Plays with Needles"...

Can you imagine? Creating seventeen different patterns for one class...each one unique? For those of you who have taught before, you know how much work it is to teach one pattern, let alone seventeen!

And the shop? Well, they were equally as wonderful for selling delica beads in one gram bags so that we didn't have a huge expense to purchase the beads that Erin used in our designs. What shop does that?? It was really a day full of gifts.

Here's our Maven of Mystery, Erin Simonetti.


It's not really a fair picture of her because I took it when she was a bit choked up. See...the class just really was grateful for the amount of work and effort she'd put into making them a personalized pattern and they had just told her so.

Personally, I like the teary-eyed shot because it tells you how much heart and soul she put into creating a marvelous mystery day for each one of us.

She is one of the most generous teachers I have ever met. She loves beading on the loom, she loves her students and it feels great to be taken under her beautifully-beaded wing.

Thank you Erin. It was one of the greatest classes ever.

And thank you Bead Soup for embracing looming, stocking seed beads and creating such a wonderfully supportive and stimulating environment.

Now, here's the mystery finally revealed...


For those who read this blog through a reader, you may not recognize it. So here you go...


It's patterned after the header of my blog! Now I can't wait to finish it.

Erin has written a detailed post about the day with the final finished patterns of each design on her blog here. Go check it out.

And now for the solution to another mystery. If you emailed me in the past week or so and haven't heard back from me, I was out of town. I'll try to reply as soon as I can but it may take a few days.

Happy Monday everyone!

Wednesday, February 12, 2014

Gauze Embroidery

Gauze.


Silk gauze.


That's what this beautiful embroidery on the front of this purse is stitched upon.

I've been enthralled with gauze embroidery for some time and was thrilled to come across this article in a 1930's edition of Weldon's Needle-Art series magazine.


The little purse that I have as an example looks very much like the one displayed in the article which is referred to as Viennese.

The pattern for this purse is included in the publication and was stitched on 40 count gauze over 1 thread with one strand of filoselle silk in the needle.


We are still able to find silk gauze today and I've stitched a few small pieces but nothing as stunning as the examples I'm sharing today.  


There's something incredibly elegant about this petit-point on silk gauze.  I love how the gauze allows the fabric underneath to show through.  

It makes me think of other uses particularly for crazy quilting...or for a purse for something special like a bride...and so I sit here dreaming of designs on silk gauze.

This purse also has a spray of chenille and metal embroidered edging.  Though we can find silk chenille today, our versions are much thicker than what was used on a purse such as this...


Silk gauze work is popular with miniaturists such as doll house hobbyists who make tiny tapestries, rugs, fire screens and pillows all stitched on silk gauze.

I'm dreaming of something a bit bigger than that.

Here's a second example of silk petit-point on silk gauze...


Though this purse has some spotting on the silk gauze, you can still see how the purse's front is made from silk gauze which allows the fabric underneath to show through...


I like the use of transparency and the layering of fabrics to create an overall stunning effect.

Even though the gauze isn't in the best shape, the beauty of the embroidery is in no way diminished...


The last example I have is stitched on silk gauze as well...


But the gauze is completely stitched over to the edges of the purse...


Though this example is still lovely, it's not nearly as captivating to me as the previous two.  

Something about not filling in all the background places the embroidery front and center.


If you're interested in giving silk gauze a try, Mary Corbet has a few articles on the subject here and here.  What would we do without Mary?  

I've found 40 ct silk gauze at Nordic Needle and both 40 ct and 72 ct at Lacis but I'll warn you...it can be a bit expensive.  

Happy dreaming everyone.

Related Posts with Thumbnails