

Last night Jim and I opened a bottle of wine and had a little rose celebration in my house.
You see, you guys don't know it but I've been dreaming and planning and gathering materials with the hopes that one day I could try to make miniature millinery flowers...

And yesterday the stars aligned, the materials were all present and my little mini roses worked!!
I have a bit of tweeking to do of course but generally I believe the method is possible and a great beginning to my rose bower on Mrs. Rose's block.
I borrowed concepts from traditional millinery flower making books. The first I found was from Lacis and was printed in 1984. The methods were for large scale flowers but I felt like I could translate them if I could just figure out the tools.
I tried with using a very thin interfacing for making flowers when I made these Alstroemeria for my Daughter's Valentine piece, when I made these poinsettias, and when I made these Black-eyed Susans for our motif swap at the Crazy Adventure in Connecticut. These methods worked OK but the interfacing added bulk to the flower and interfered with the petals holding their shape over time.
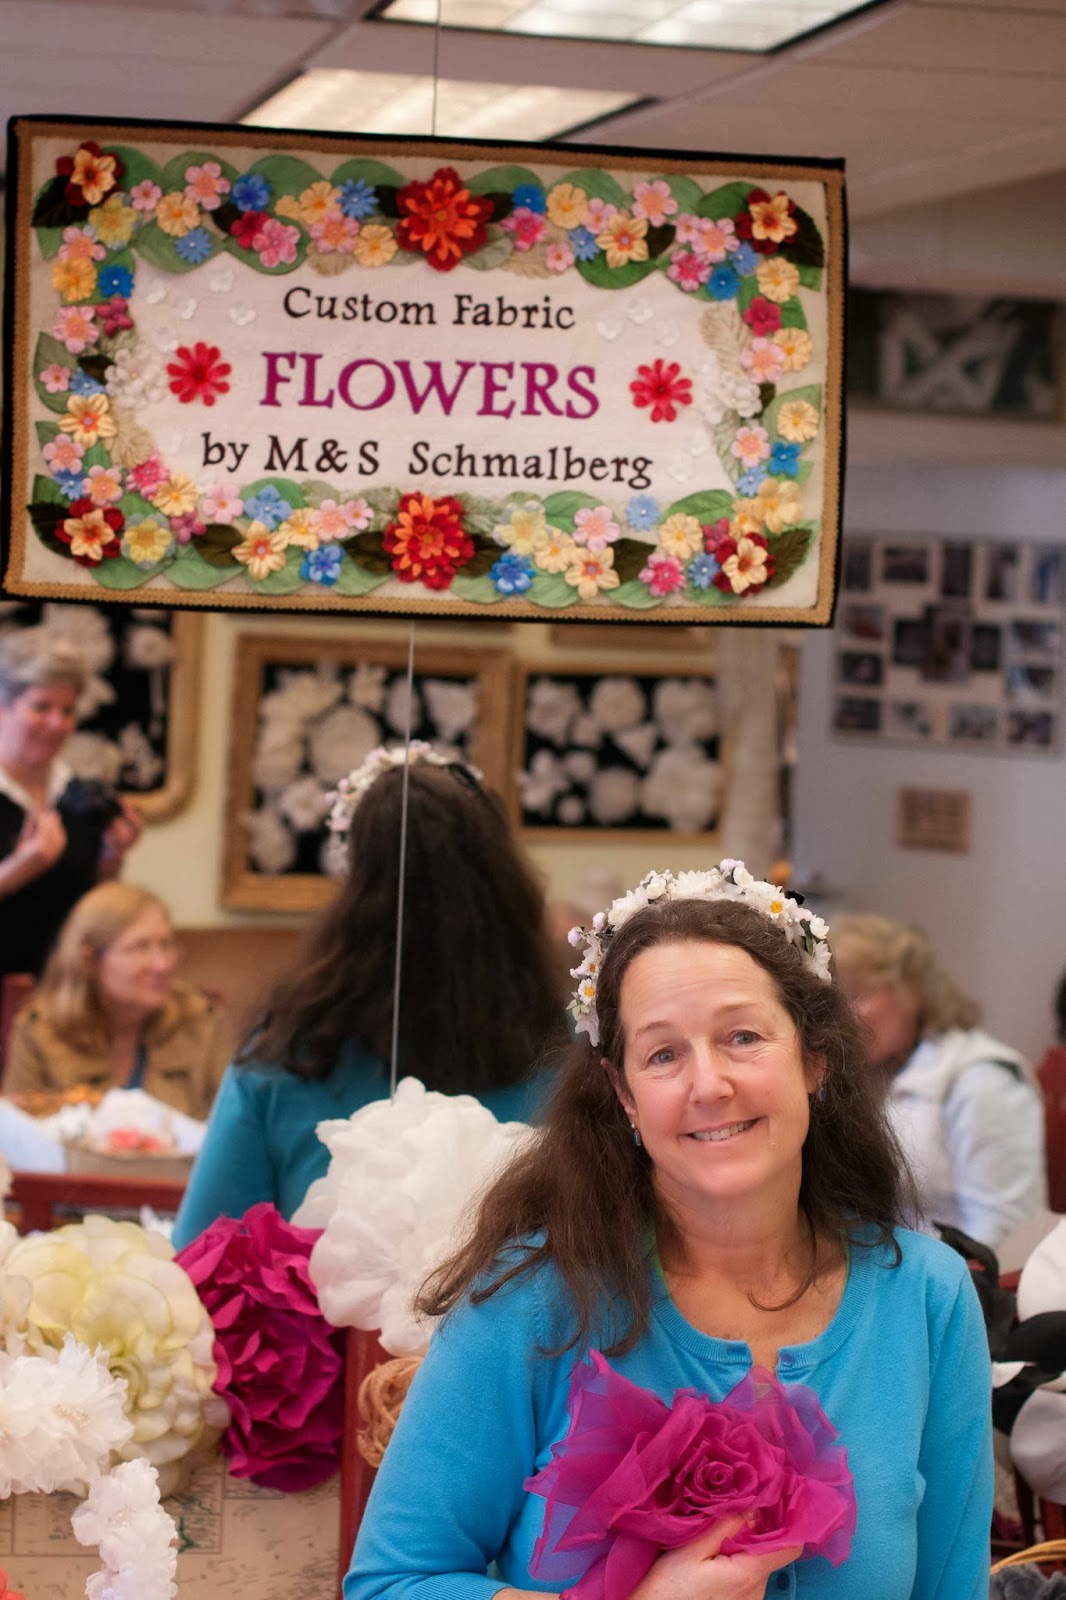
Then in April 2011, Allie took us on a field trip to M&S Schmalberg, a milliner in the garment district in NYC. They have beautiful flowers...it makes you happy just to go there and it's cheaper than therapy!
Here's Allie standing below the banner quilt that she made for them because she loves them so much.
At Schmalberg, I learned how traditional millinery flowers were made. Allie uses many of them in her award-winning quilts so I purchased a few organza petals which I used in my Breakfast at Tiffany's block and in the cherry blossoms on my Hearts and Hands for Sendai block. They worked great, the only constraint being that the smallest flower I could purchase from them was one inch large. I can't believe I'm saying one inch is large but in some scenarios, it is!
These little guys I made yesterday range from 3/8" to 1/2" and I think smaller is even possible.

My trip to Schmalberg gave me insight into millinery flower production which I was able to tuck away for future reference.
Future reference ended up being yesterday.
I roughed up a petal pattern in three different sizes using the three different silk paint samples from yesterday. I cut them out and then used an iron and heated various small tools I had to shape the petals.

I couldn't believe how well it worked.
Increasingly I've been working in three dimensions and felt somewhat constrained by stumpwork and ribbon embroidery methods. Though I still love both, they have their limitations in scale and design.

Painting my own silk will allow me a lot more flexibility in color choices and sculpting the silk will allow me to make flowers in multiple shapes and sizes to better reflect what occurs in nature.
I still have many more hurdles that I haven't figured out...for instance, those roses need sepals and stems...and I haven't figured out how I'm going to do the rosebush canes, how to do thorns, leaves, etc.
But it's a beginning. And a pretty rosy one at that.

Happy Spring.


29 comments:
Simply beautiful!
Beautiful! Your so talented!
So intrigued by your tiny flowers! For the stems, have you thought about doing thread wrapped wire a la Salley Mavor? I've been dreaming about making a 3d Walled Garden and watching your rose bower come to life brings much inspiration!
WOW WOW some great roses. You outdid yourself once again!! Beautiful roses.
Those roses are really sweet.
Once again your creativity is inspiring me to keep learning.
FlowerLady
Amazing; simply amazing! I have small hands and fingers but would fumble that sort of thing badly. You make it look easy!
Love your work Susan. You really are an artist.
These little roses are simply beautiful ! I love the shape that you gave to them.
Exquisite Susan!!
Did you treat the silk with something so the flowers would hold their shape and not fray?
These roses are so beautiful and cute. I went back and looked at the Alstroemeria you made - they're pretty special too :-)
They are gorgeous, delicate and such pretty colors.
Oh, and you can totally tell they are roses.
Very sweet:)
These tiny little roses are beautiful. I believe there is nothing you cannot do my dear...
A.M.A.Z.I.N.G. just simply amazing Susan. I am truly in awe of your work. Thanks so much for sharing !!!
can already picture these rosse with Mrs Rose they are lovely and dyeing your own silk as you say you can get a range of shades such talent you have at working out the best way to do everything
It's a fabulous beginning, for sure, and I'm so impressed with your miniaturisation skills!
What a beautiful job you did and it will be exciting to see all the places you will go with this new art!
Beautiful! This post reminds me of the 1000's of silk flowers my friend and I put together for wedding. Silk petals similar to what you have cut out stacked, wired and wrapped. You have done such a nice job reducing them in size....once again I have learned something!
What wonderful miniature roses! wow!
Really smashing roses!
If you use fine wire you can make the rose stems.
As a miniaturist I made clematis 'branches' using florists paper covered wires but you may prefer an even finer wire for your piece.
In which case old fashioned fuse wire , carefully wrapped round with a fine tissue paper strips - and you could paint your own tissue of course for an appropriate green/brown etc.
Now if you strip down modern table lamp wiring the plastic coloured wires within contain fine wires much like the Uk old fashioned fuse wires.
They are very fine but can be twined together and realistuic stem shapes can be fashioned.
Tearing green tissue would give you the suggestion of sepals, carefully dab abit of pva and lay in postion, if you follow my drift?
Hit the library for one of the miniaturist garden books eg
Making Miniature Gardens (Master Craftsmen) there will probably be more info in there for you : )
Wow those are amazingly beautiful!! I would love to have access to your creative brain for a day!!
YOU ARE A MAGICIAN!!! They are over the top.
Ann Cox use some bee wax to give some shape to some stems or pistils.
Wow!! Absolutely beautiful!
Fantastic success with the wee little roses!...Loved seeing that picture at M & S...with Cathy K and Helen in the background, such great memories...
Wow your tallents never end, this is a brilliant new project I wish you good luck with it I am sure that you will work out what to do next!
Pretty, pretty, PRETTY.
What pretty roses! I'll bet Mrs. R loves them, too.
You are so clever! The tiny roses turned out wonderfully, and I know you can accomplish anything you set your mind to. You're rather amazing like that.
And I vividly remember our trip to NYC that day. I am still mesmerized whenever I look at the pictures of our visit to Schmalberg's. It was not only educational, but fun. It will be so inspiring to see you create the miniature rose bower. Hugs xxxxx
Post a Comment