Over the years, Jim and I have grown quite fond of the quirks and personalities of the birds that share our backyard and sup at our seed-y smorgasbord. I'm particularly fond of the Eastern bluebird and Jim's favorite is the Black-Capped Chickadee.

I think he sees a bit of himself in its capable, efficient manner. Targeted in its feeding style, the chickadee avoids the food squabbles of the finches, sparrows and jays. Waiting patiently for a break in the fray, it flies in, gets a seed, and flies away again to eat in peace before any protest is mounted. Though the titmice are similar; the chickadee is the only bird to let us know when the feeders are empty by calling just outside our window...chick a dee dee dee, chick a dee dee dee.
They're also the only birds that escort me across the yard while I'm carrying the newly-filled feeders, taking seeds as I lift them up and before I can even get them hung. We've seen pictures of people training chickadees to eat out of their hands and Jim has often said he wants to try that once he retires.
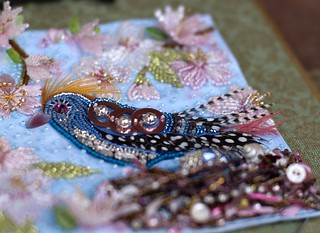
I mention all this as backstory so that you understand why I said "yes" without any hesitation when Pam Kellogg asked if I would be willing to make the January artwork for her annual Crazy Quilt calendar. This year's theme was birds and would I be willing to do a Chickadee?
Jim's favorite bird and my favorite month...slam dunk...I was in.

Another reason Jim loves the chickadee is because it's with us all year round. A fierce little bird and a scrappy forager in the worst of winter weather.
Inspired by their brazen, insistent requests, I decided to place my chickadee on the crepe myrtle branch outside of the window, winter bare but for the seed pods that are left closed until Spring...

This is the branch from where our chickadee friend, seeing us seated inside the warmth of our home, calls to us to come out and fill the feeder.

I splattered the block with Lumiere textile paint in pearlescent white, wanting the bird to be in the middle of a snowstorm.
I envisioned snow to be everywhere so I spent some time studying photographs of snow crystals and reading up on the properties of snow in this book...

I can't recommend it enough! Find it at the library or bookstore and spend some time looking through its pages...it's a beauty to behold.
The snowflake structures lend themselves beautifully to embroidered interpretation...


The crepe myrtle seed pods were "stitched" by making knots of Au Ver a Soie silk chenille thread, sinking the ends, and sculpting them with needle and thread...

I found that the thread was too thick to stitch with a french knot without serious worming.
The snow on the branch was made in the same manner as my January Reflections piece.


And the little blue beanie?
The inspiration for that came from none other than my son Jack himself. He wears one pretty much every day...

And I was in the process of making a new hat for him when I dropped him off at school...


I had to steek the bird's beanie so I could cut it in half and sculpt it with thread onto the piece.
Steeking is a method of cutting a piece that has been knit in the round. I had never steeked anything before so I learned a new technique.
Thanks Pam for including me in your calendar. You can see the other birdy pieces in the calendar and purchase your own here.

I know I haven't been blogging very much lately but it isn't for lack of desire. I still love my blog like an old friend and plan to be here more regularly, life willing.
Waving to you all!

I think he sees a bit of himself in its capable, efficient manner. Targeted in its feeding style, the chickadee avoids the food squabbles of the finches, sparrows and jays. Waiting patiently for a break in the fray, it flies in, gets a seed, and flies away again to eat in peace before any protest is mounted. Though the titmice are similar; the chickadee is the only bird to let us know when the feeders are empty by calling just outside our window...chick a dee dee dee, chick a dee dee dee.
They're also the only birds that escort me across the yard while I'm carrying the newly-filled feeders, taking seeds as I lift them up and before I can even get them hung. We've seen pictures of people training chickadees to eat out of their hands and Jim has often said he wants to try that once he retires.
I mention all this as backstory so that you understand why I said "yes" without any hesitation when Pam Kellogg asked if I would be willing to make the January artwork for her annual Crazy Quilt calendar. This year's theme was birds and would I be willing to do a Chickadee?
Jim's favorite bird and my favorite month...slam dunk...I was in.

Another reason Jim loves the chickadee is because it's with us all year round. A fierce little bird and a scrappy forager in the worst of winter weather.
Inspired by their brazen, insistent requests, I decided to place my chickadee on the crepe myrtle branch outside of the window, winter bare but for the seed pods that are left closed until Spring...

This is the branch from where our chickadee friend, seeing us seated inside the warmth of our home, calls to us to come out and fill the feeder.

I splattered the block with Lumiere textile paint in pearlescent white, wanting the bird to be in the middle of a snowstorm.
I envisioned snow to be everywhere so I spent some time studying photographs of snow crystals and reading up on the properties of snow in this book...

I can't recommend it enough! Find it at the library or bookstore and spend some time looking through its pages...it's a beauty to behold.
The snowflake structures lend themselves beautifully to embroidered interpretation...

And I discovered that all snowflakes have either six- or twelve-sided symmetry...never four or eight as I've sometimes seen them depicted.
Each stitched snowflake is unique...

And I was able to use the painted watch parts and beaded snowflakes I had made a few years ago. Evidently, their time had come...

The crepe myrtle seed pods were "stitched" by making knots of Au Ver a Soie silk chenille thread, sinking the ends, and sculpting them with needle and thread...

I found that the thread was too thick to stitch with a french knot without serious worming.
The snow on the branch was made in the same manner as my January Reflections piece.

As for the chickadee itself, I wanted to give the appearance of the feathers being fluffed out, trying to retain body heat so I stitched in a few fluffy feathers to give the suggestion of cold.

The inspiration for that came from none other than my son Jack himself. He wears one pretty much every day...
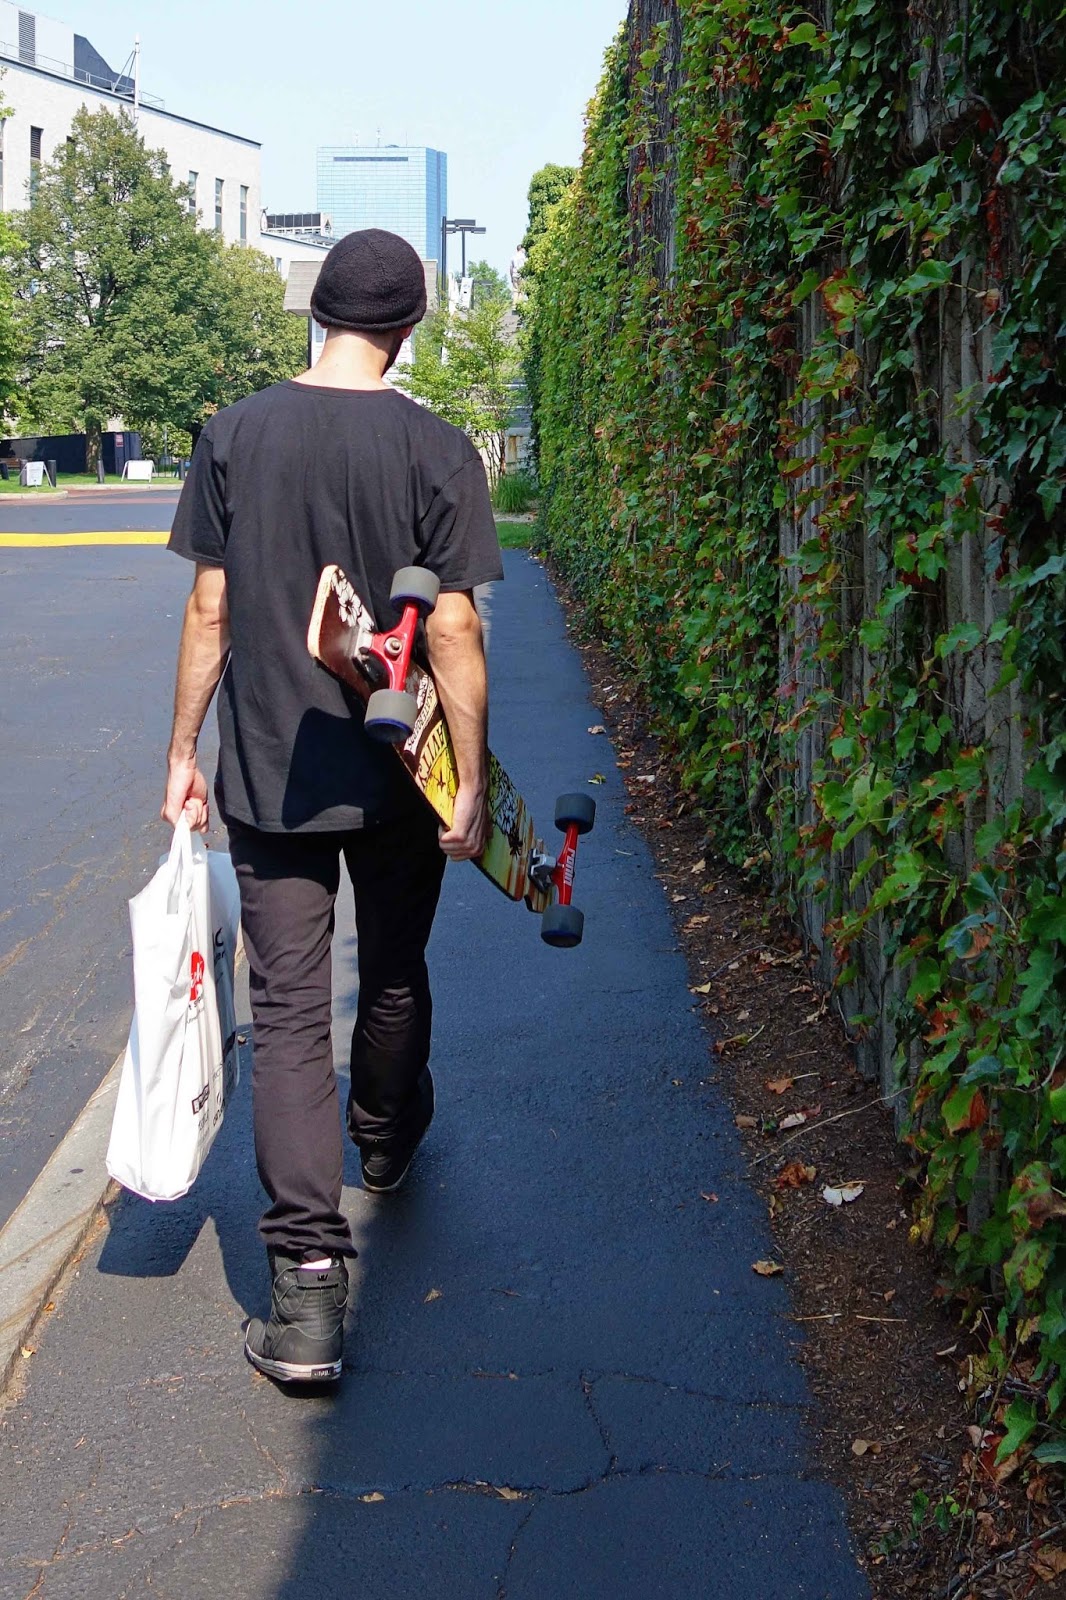
And I was in the process of making a new hat for him when I dropped him off at school...

To keep him warm through those cold Boston winters.
So I knitted one for him and one for the bird...

I had to steek the bird's beanie so I could cut it in half and sculpt it with thread onto the piece.
Steeking is a method of cutting a piece that has been knit in the round. I had never steeked anything before so I learned a new technique.
Thanks Pam for including me in your calendar. You can see the other birdy pieces in the calendar and purchase your own here.

I know I haven't been blogging very much lately but it isn't for lack of desire. I still love my blog like an old friend and plan to be here more regularly, life willing.
Waving to you all!